FCM Setup
The Rover Campaigns app uses Google’s Firebase Cloud Messaging to deliver notifications to your app. In order to authorize Rover communication with your app through FCM you will need to create an FCM project and upload its “Server key” to Rover.
Setting up Firebase and Play Services
Head to the Firebase Console and ensure
you are logged in with an appropriate Google account for your project. Select
“Add a new project”, or, if you have already created one, select it.
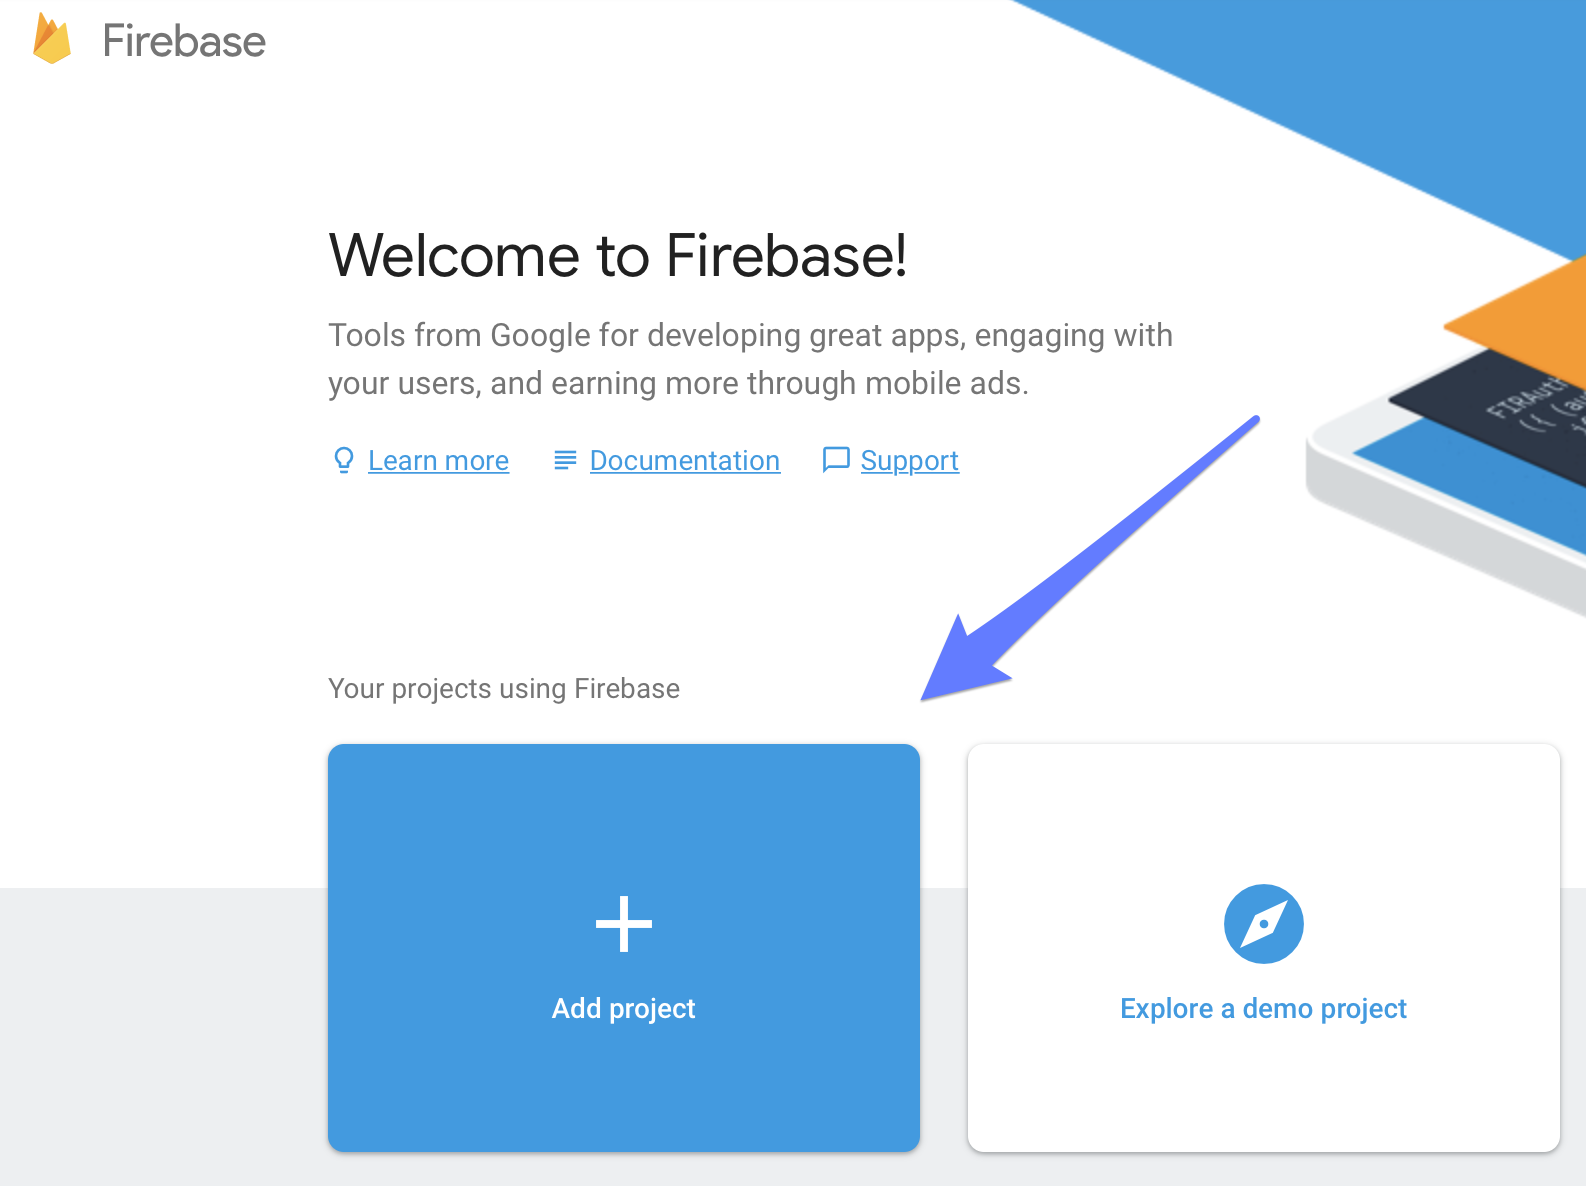
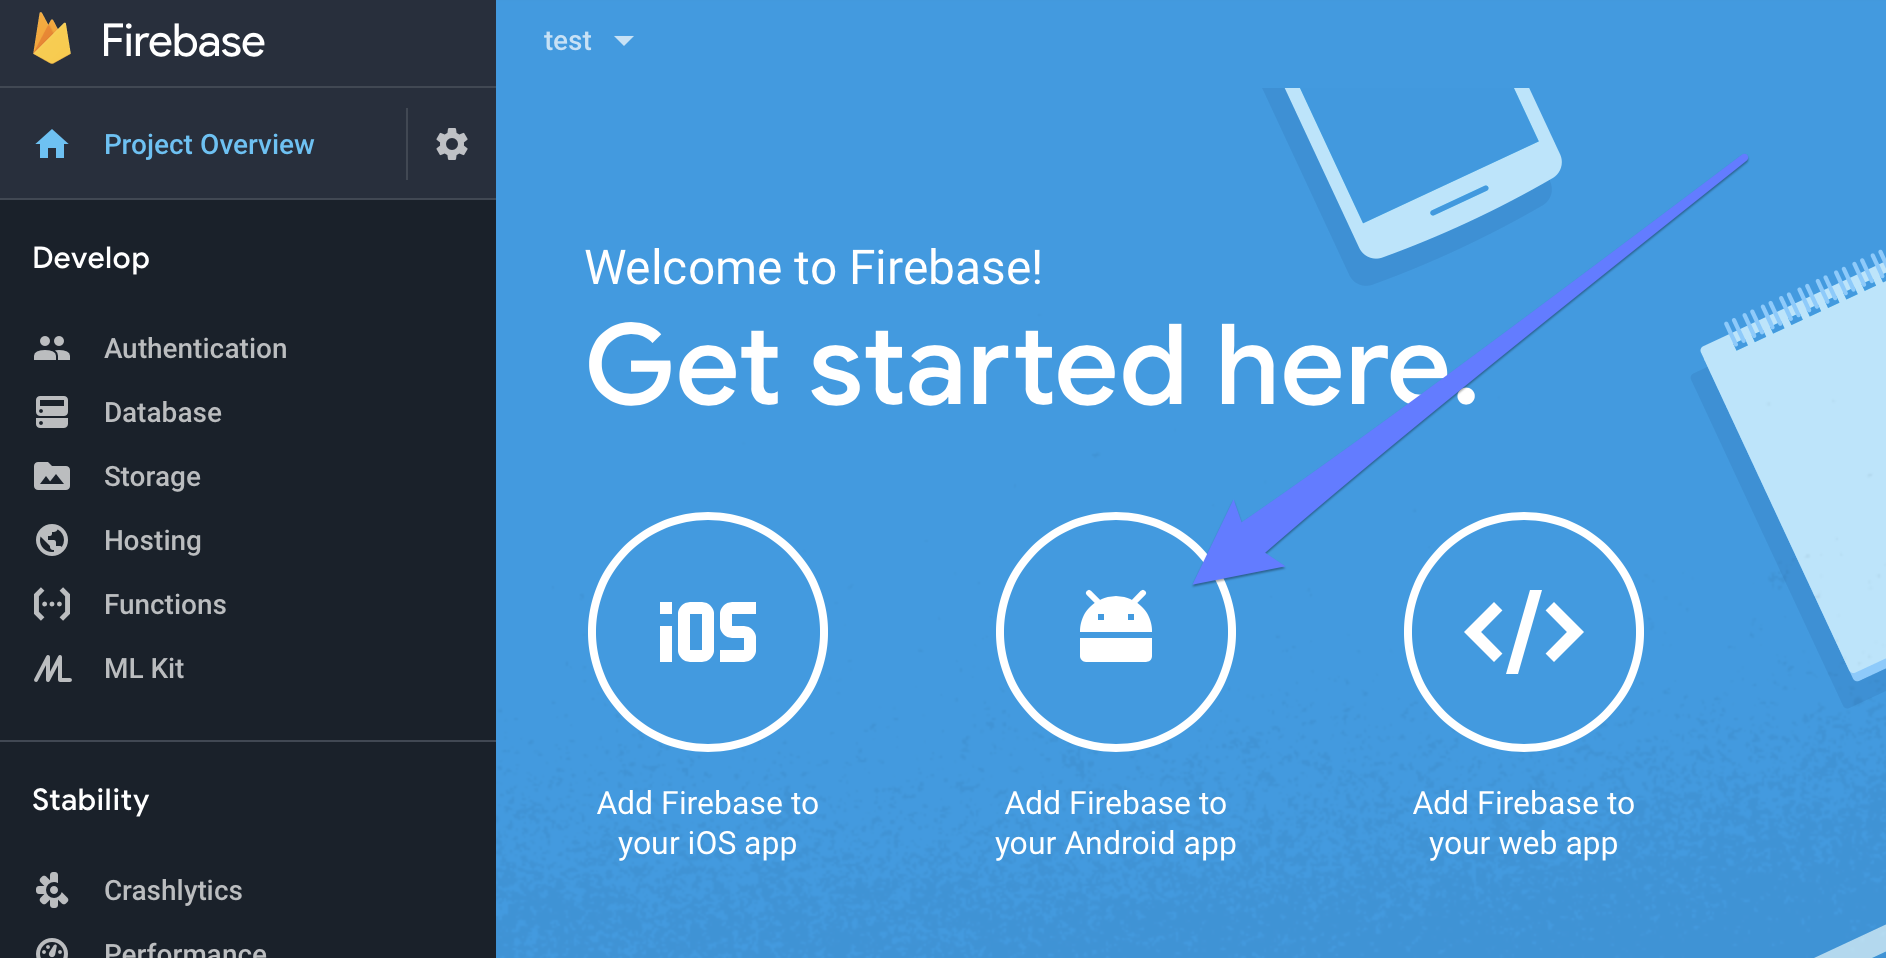
On the project “Getting Started” page, you can then select “Add Firebase to your
Android app”.
Fill in your app’s package name and visible name.
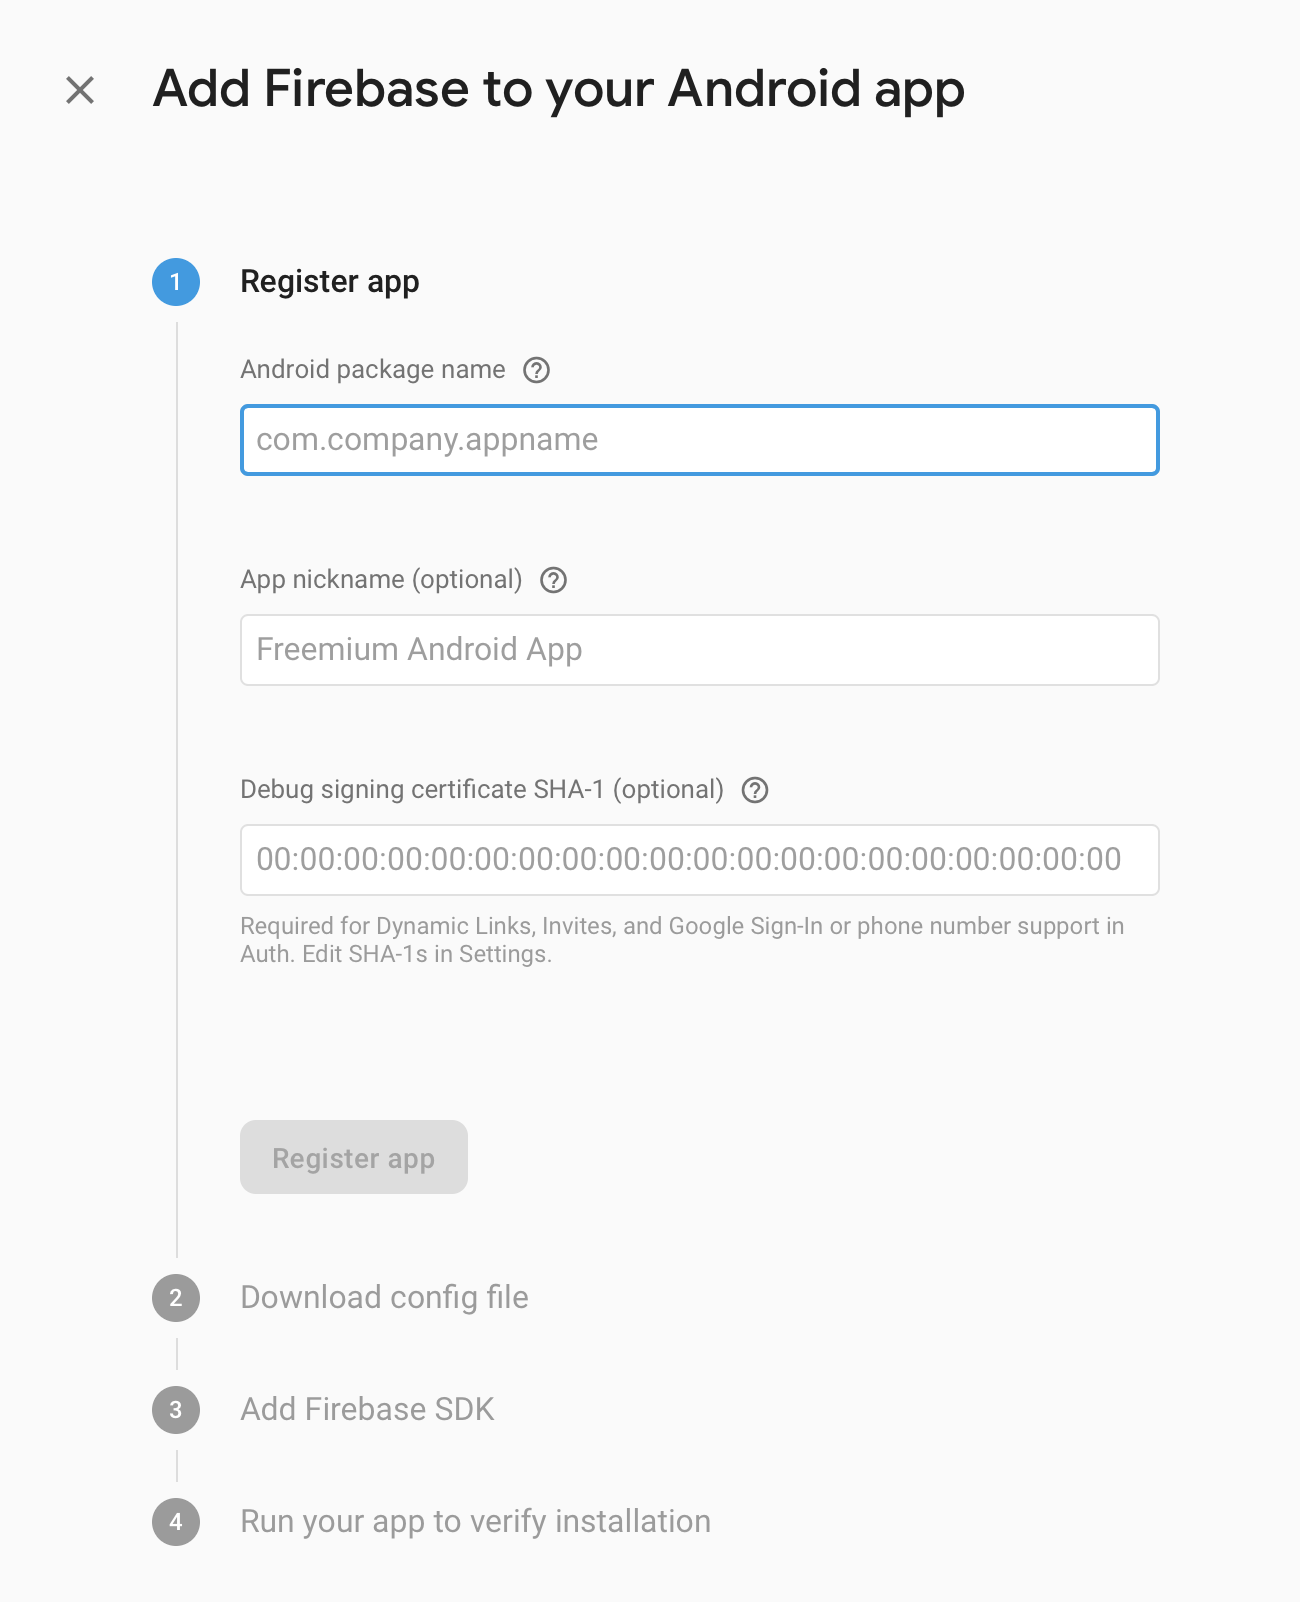
Press “Register App”. Google will then direct you to download a
google-services.json file, drop it into your Android project’s file tree, and
then direct you to add the Firebase SDK to your app’s build.gradle files.
Connect Rover to Firebase Cloud Messaging
You will then need to retrieve the Firebase Web API key and set it on your Rover account so that Rover can push notifications through to your app via Firebase.
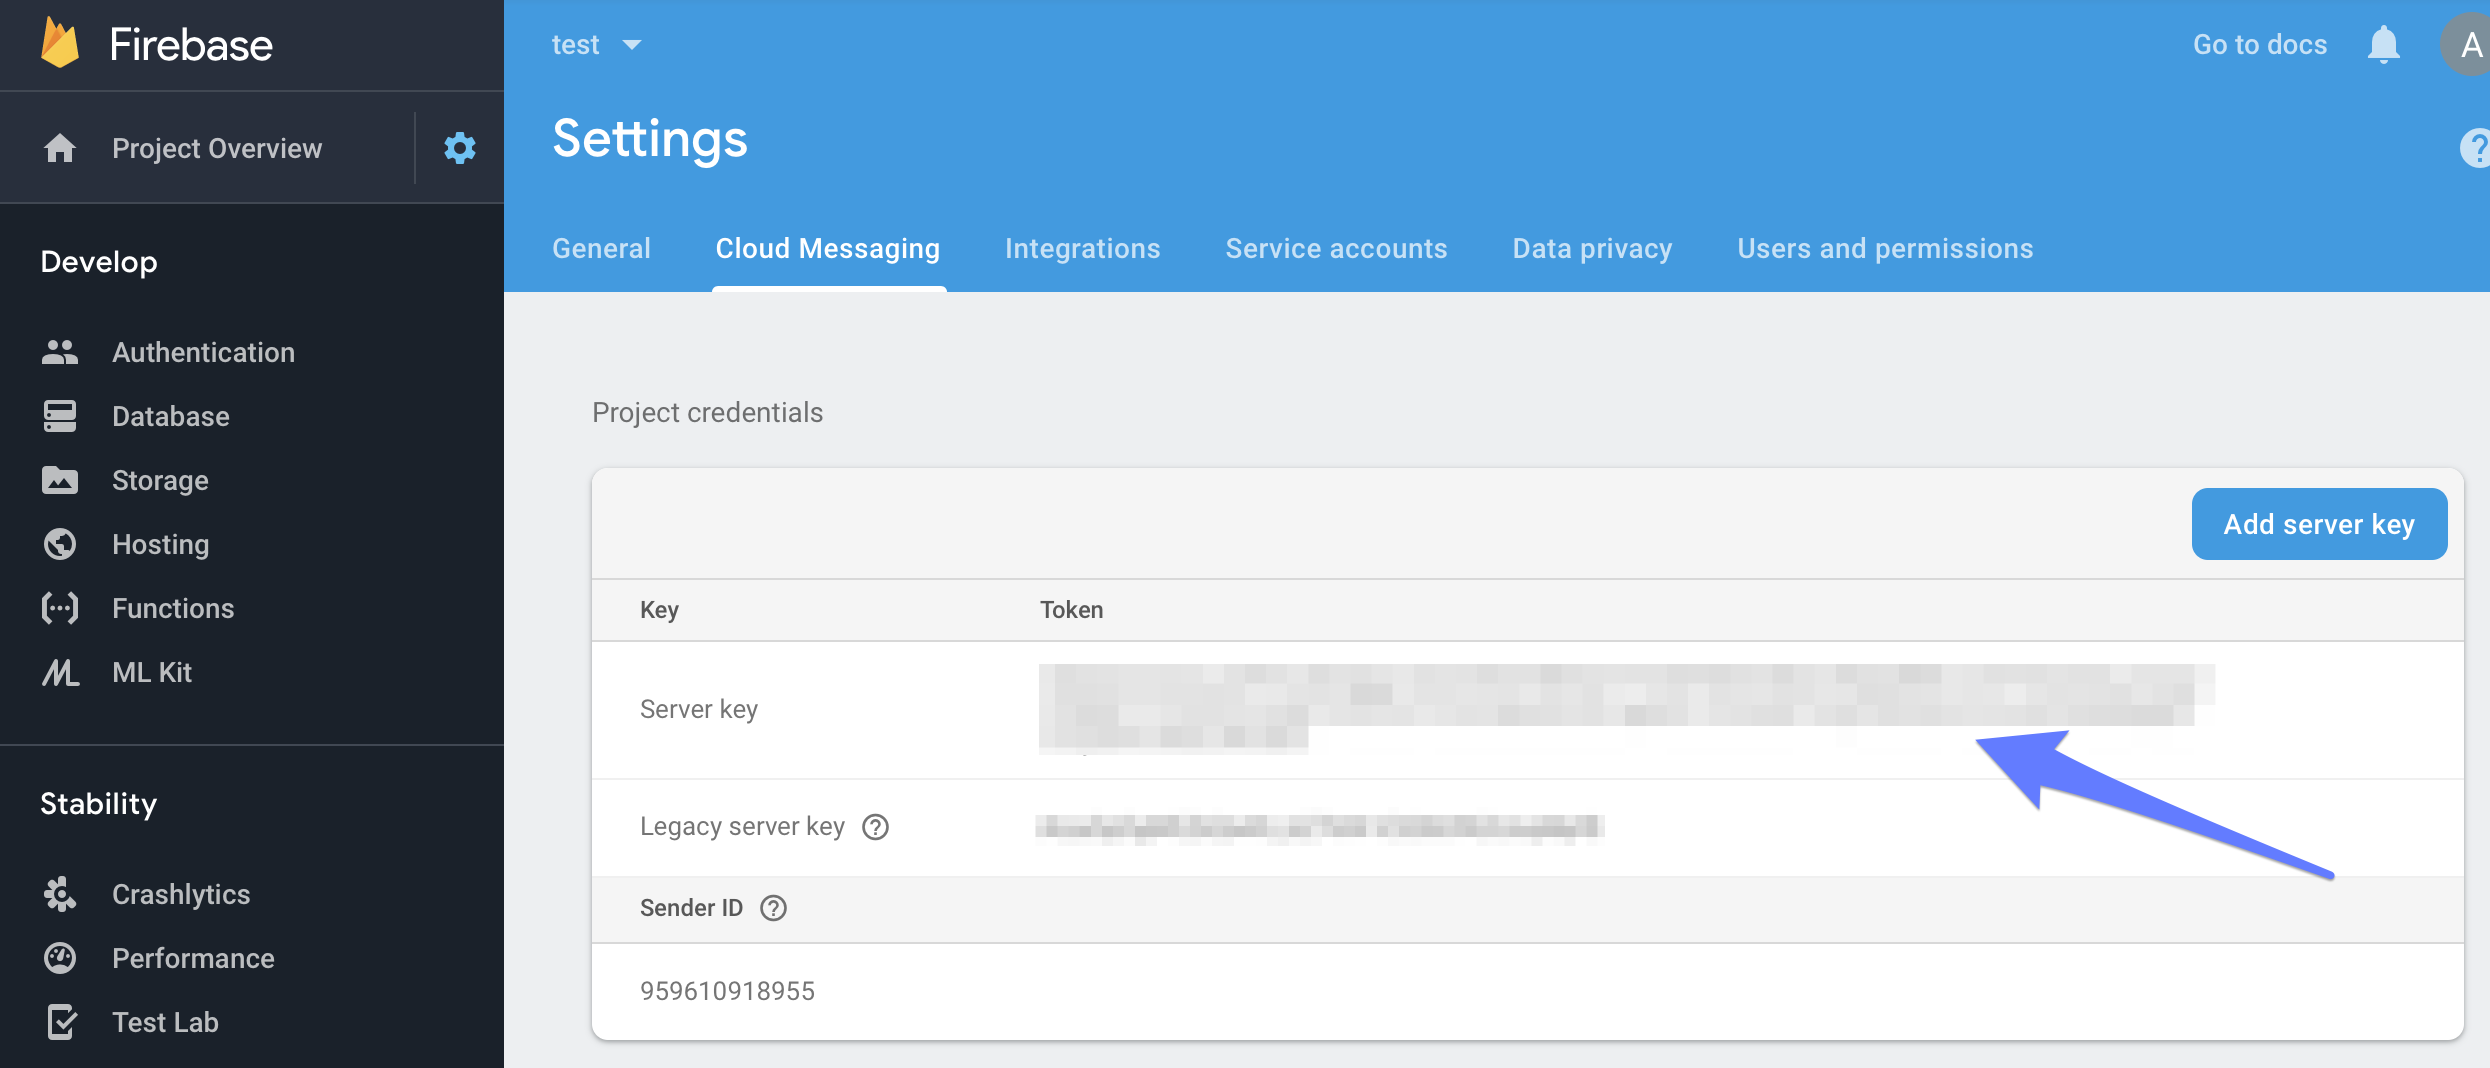
Click on the gear icon adjacent to “Project Overview” and select Project Settings.
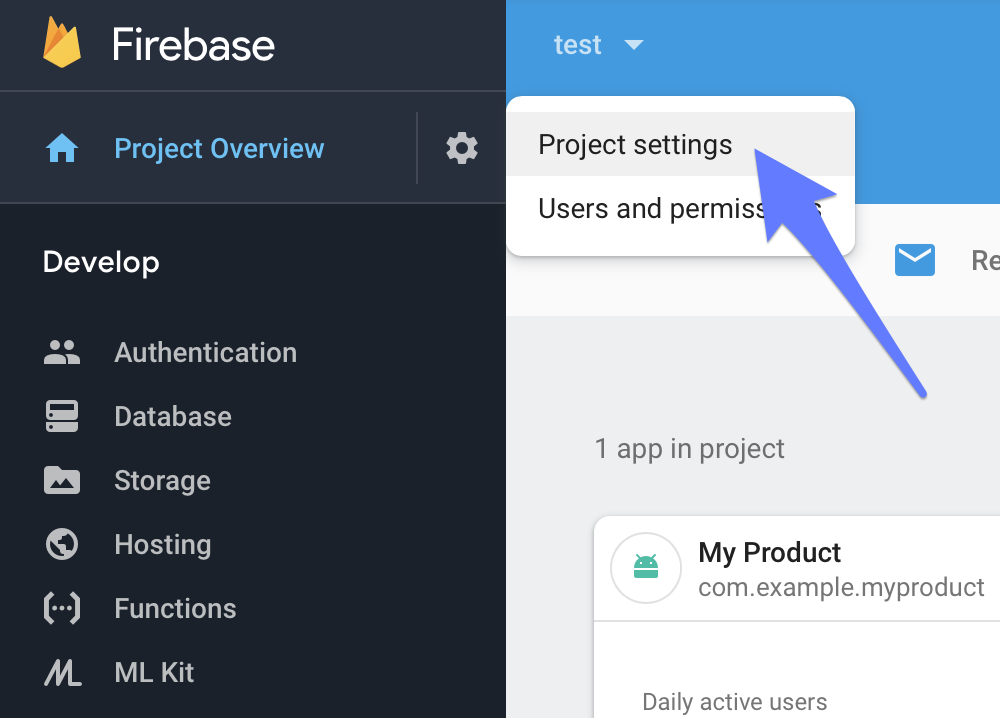
Click the Cloud Messaging tab to view the Server Key. Copy it to your clipboard.
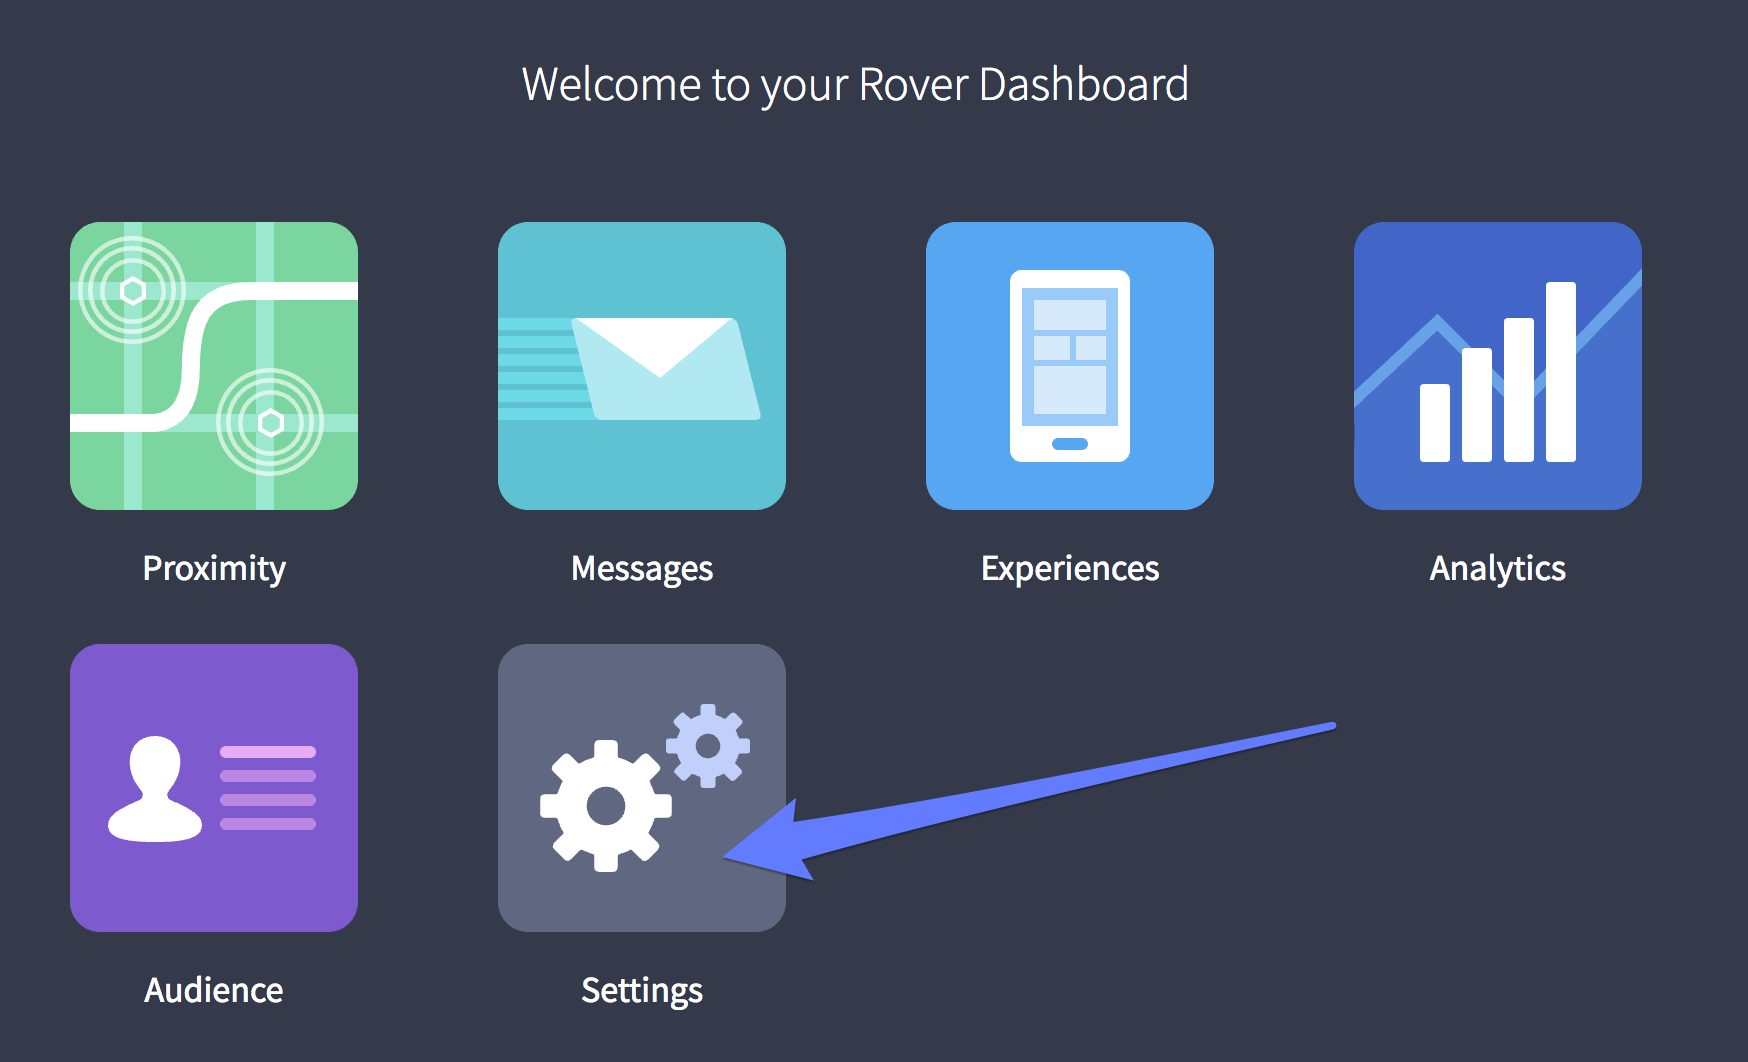
Open your Rover Dashboard and select “Settings”.
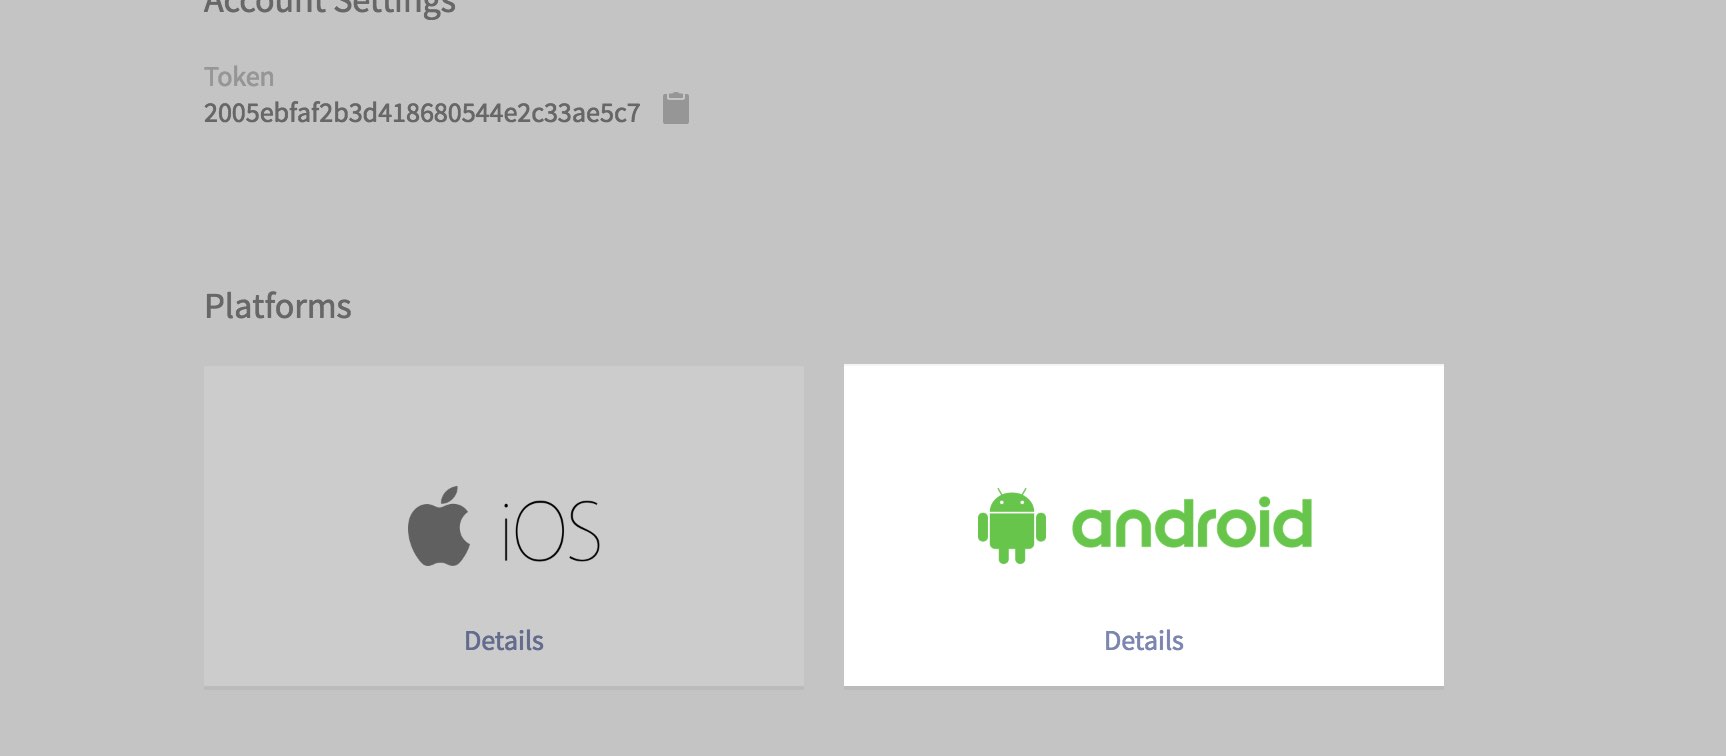
Click the “Android” tile on the Account Settings screen.
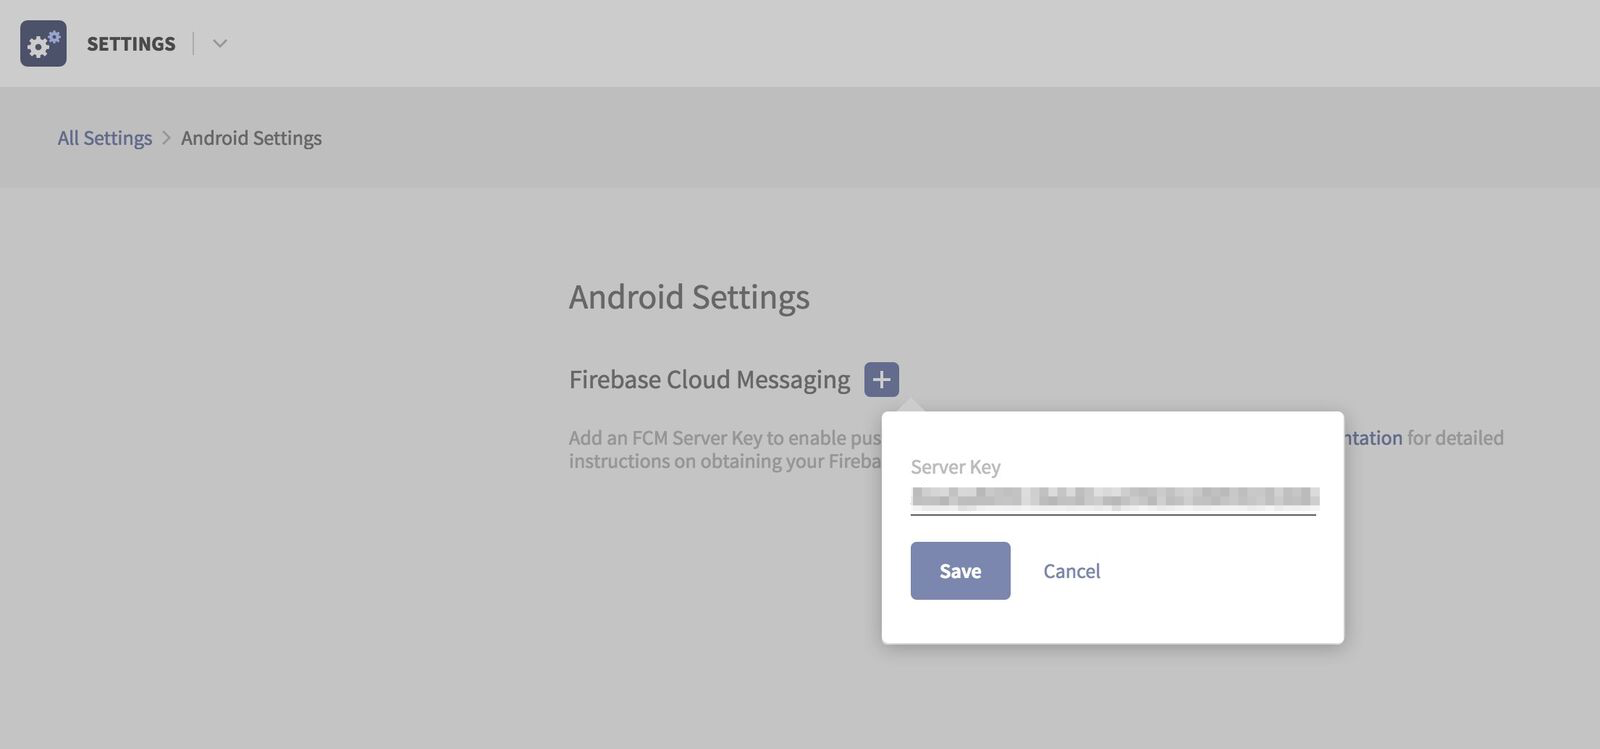
From the Android Settings page click the plus (+) icon next to Firebase Cloud Messaging.
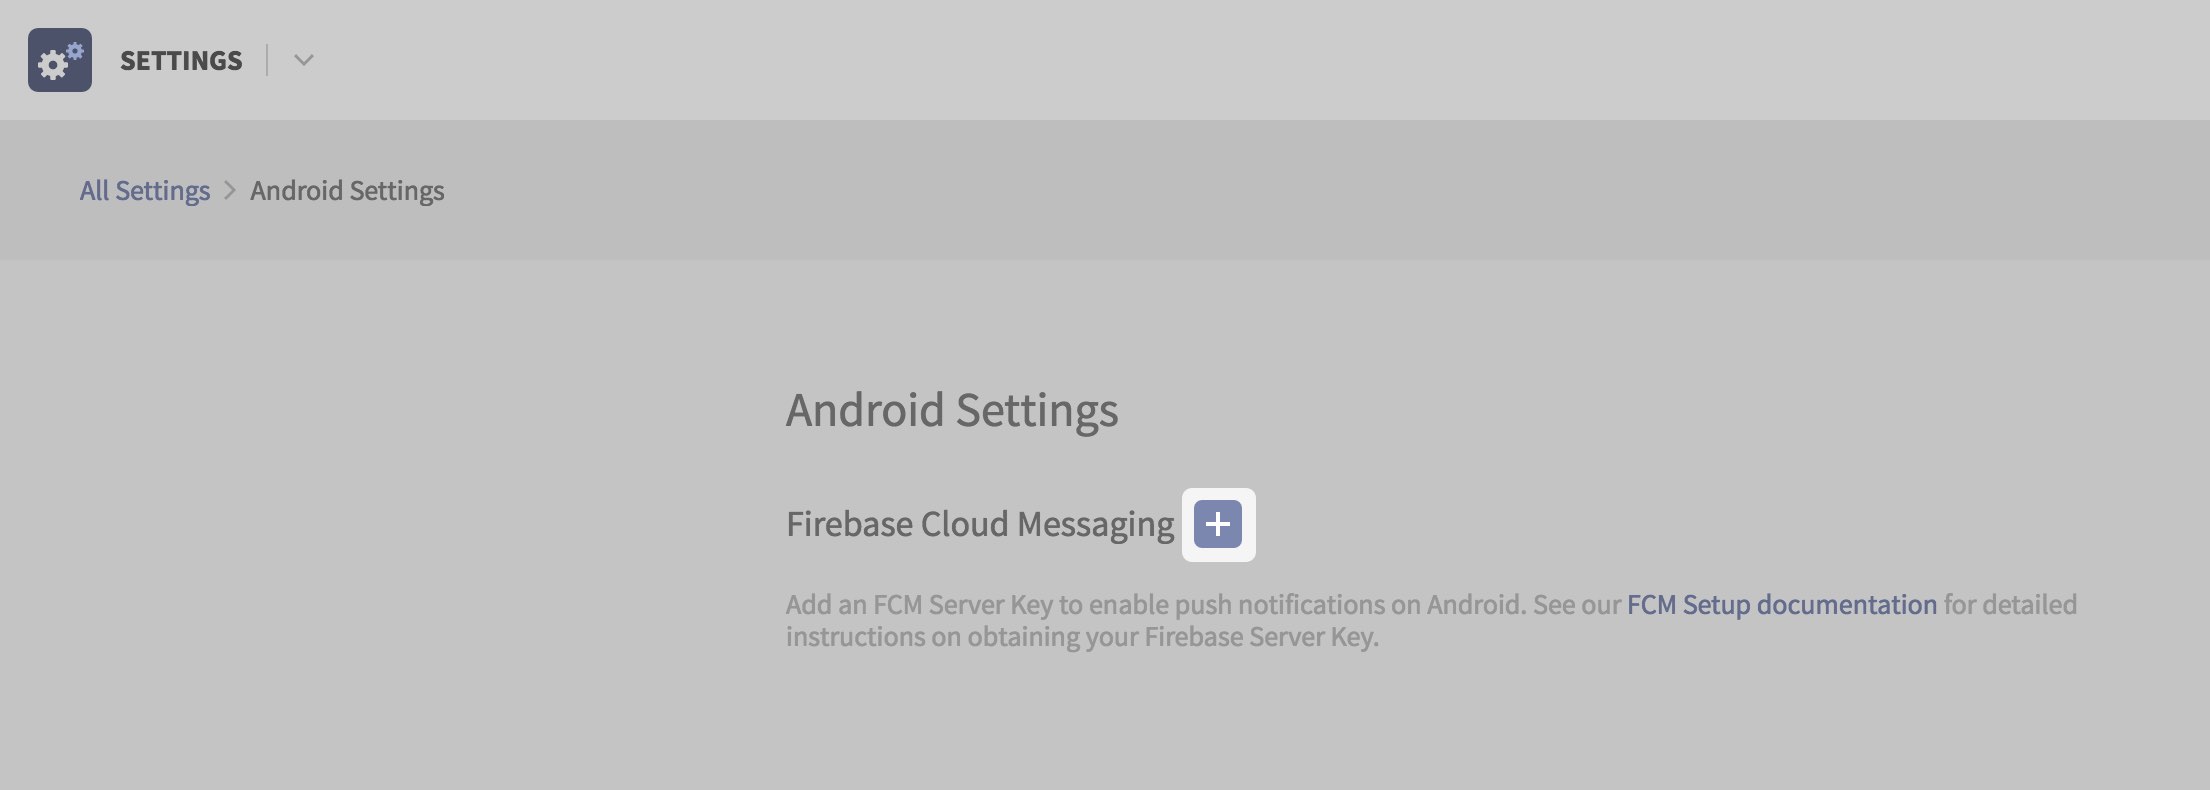
And set the Server Key you copied to your clipboard from Firebase in the second step.
At this point Rover can deliver push notifications meant for your app to FCM. However, to set up your app and the Rover SDK to receive and handle them, you will need to proceed to the next step, Push Notifications.
Required Modules
- Core
- Notifications