APNS Setup
The Rover Campaigns app uses APNS to deliver notifications to your app. In order to authorize APNS communication you will need to create an “Apple Push Services” certificate and upload it to Rover.
Create a Certificate
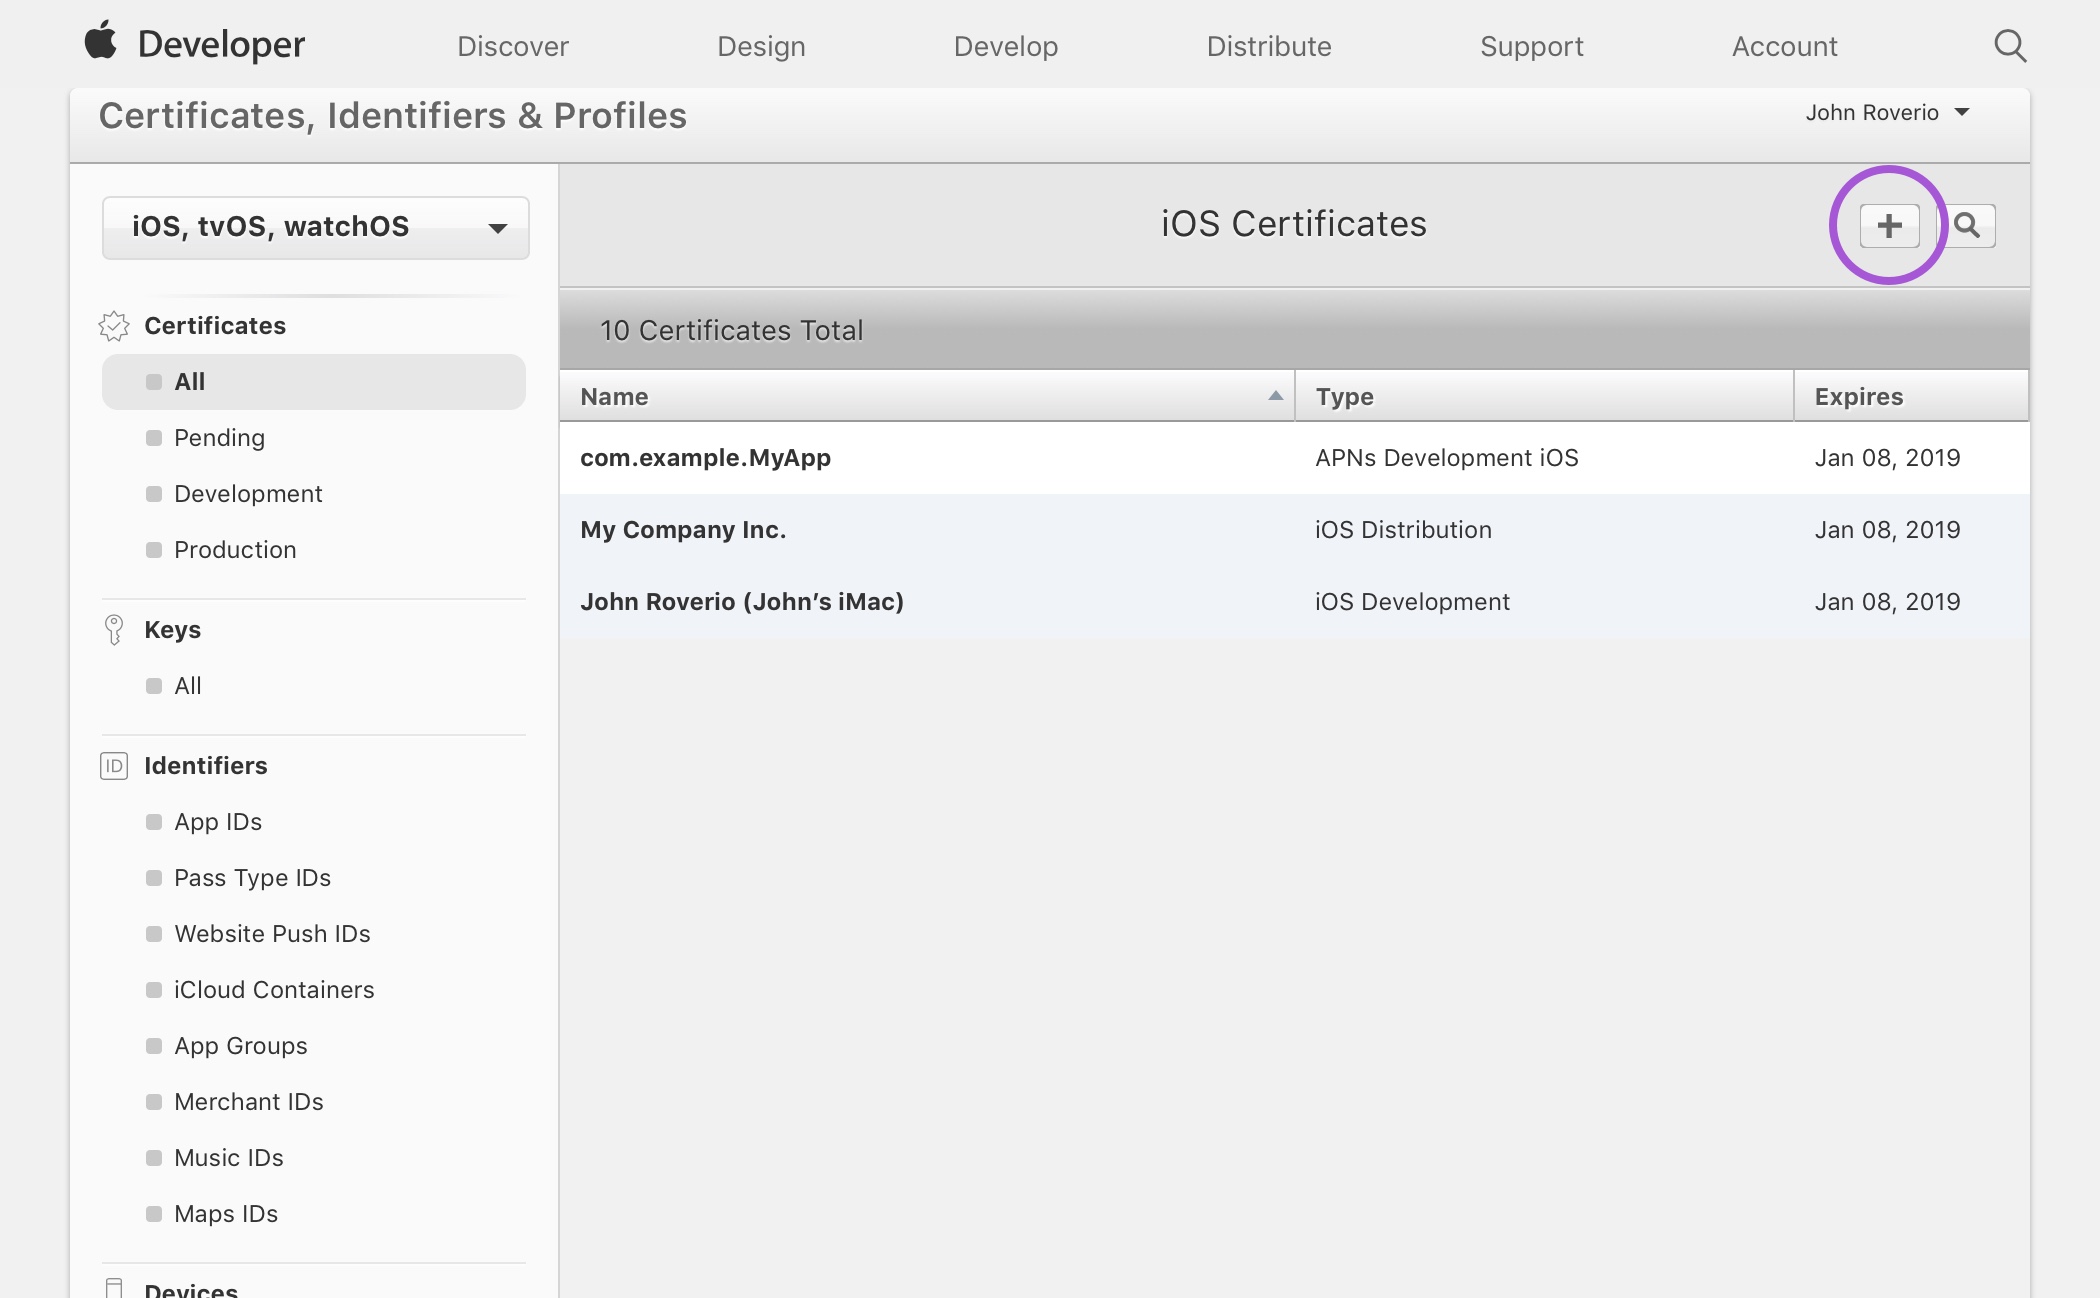
Before you can upload your certificate to Rover you need to create it in the Apple Developer portal. Sign-in with your Apple ID and navigate to Certificates, Identifiers & Profiles. Click the plus (+) button at the top of the certificates list.
On the next page, select “Apple Push Notification service SSL (Sandbox & Production)” from the list of options.
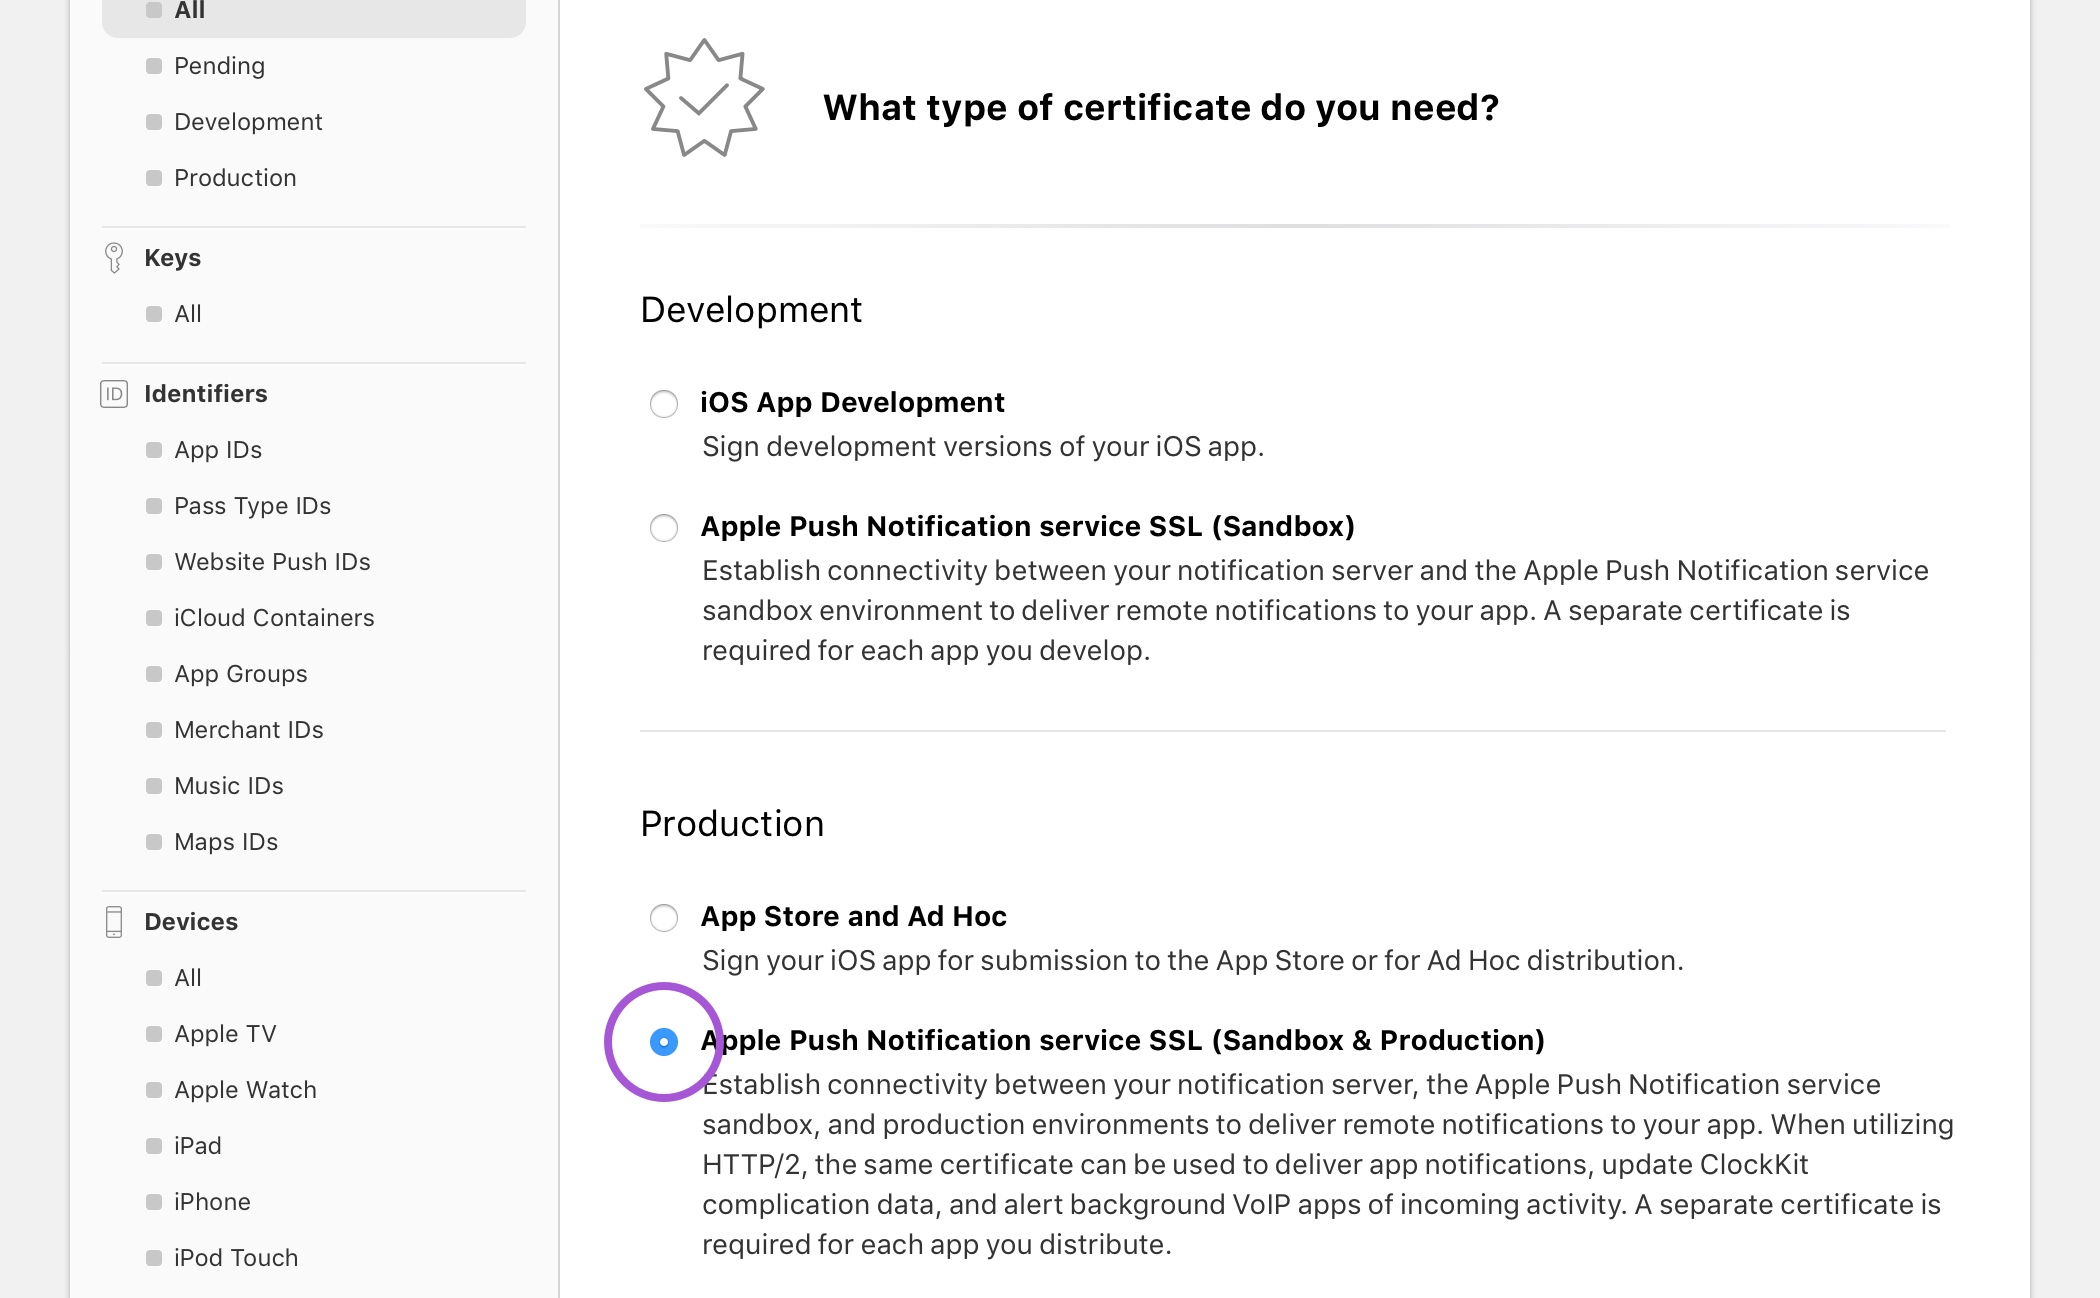
Scroll to the bottom of the page and click “Continue”.

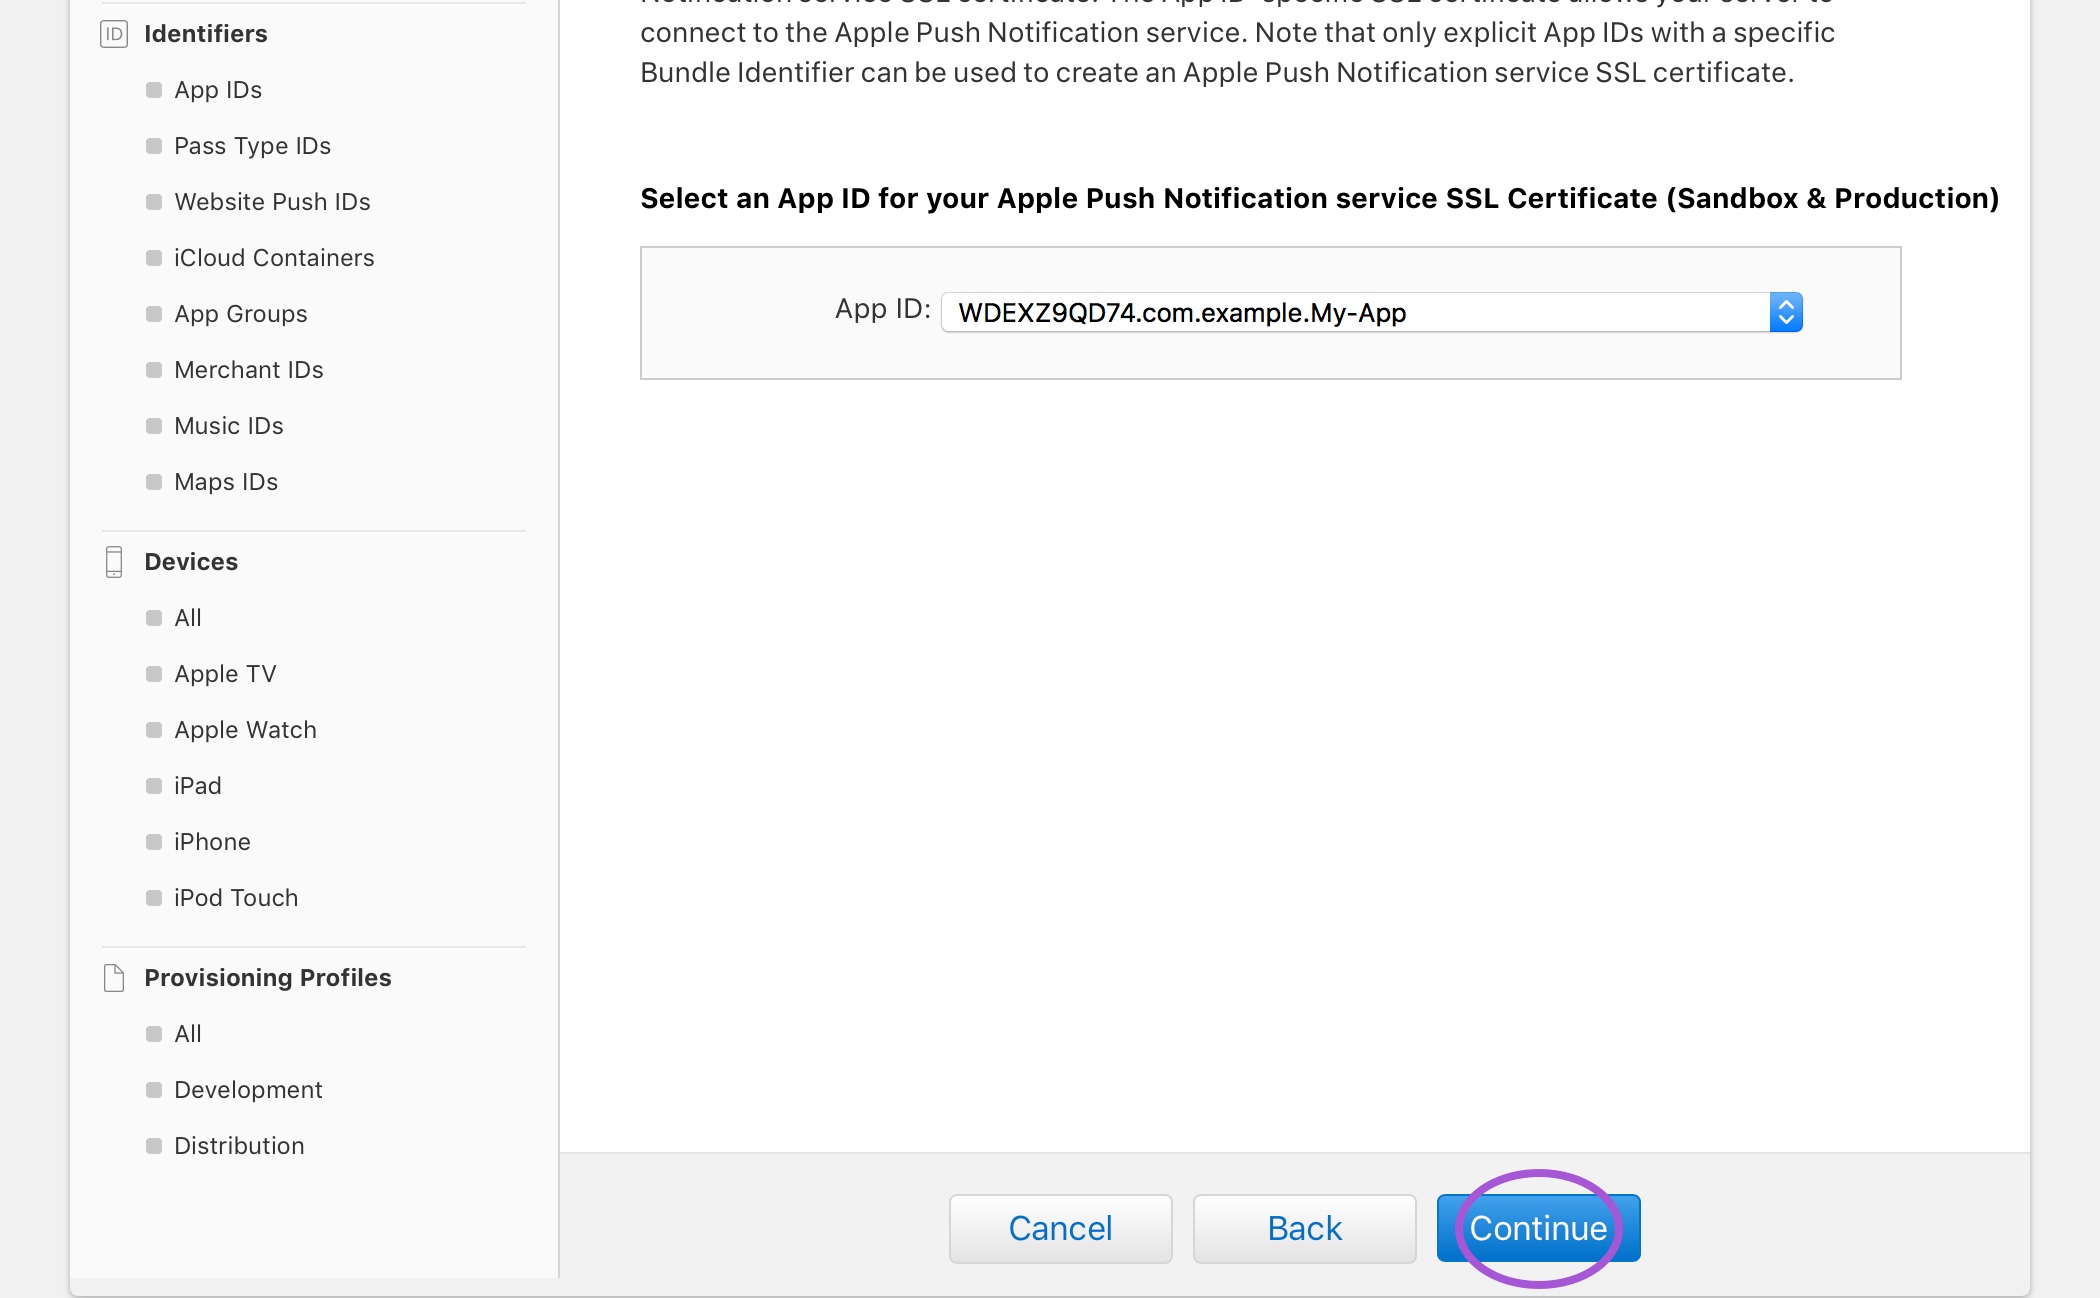
On the next page, choose your App ID from the list and again click “Continue”.
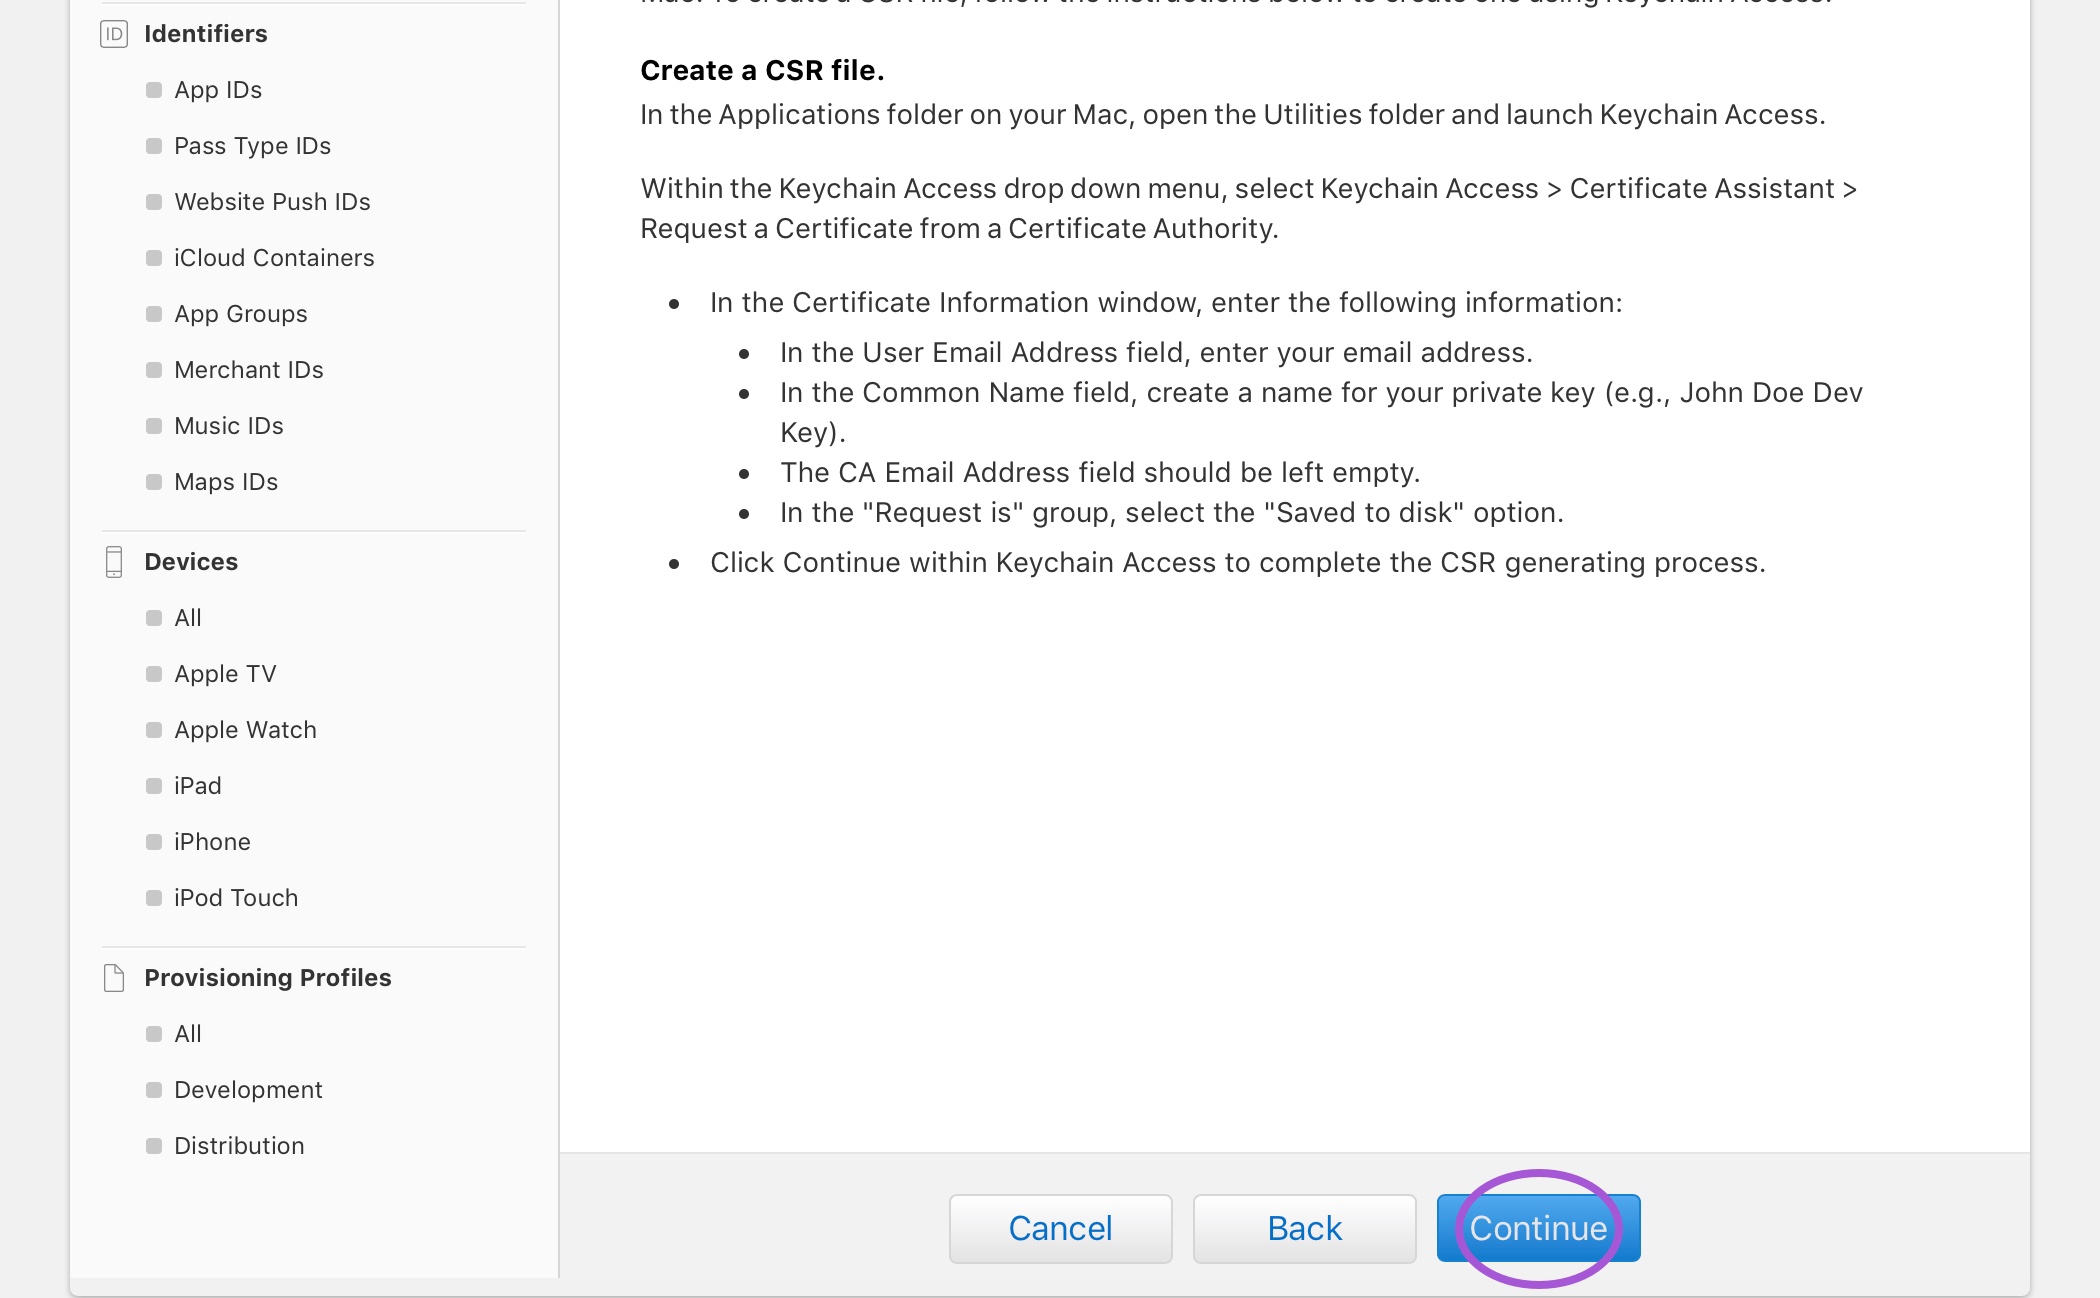
The next screen provides detailed instructions for creating a Certificate Signing Request (CSR). Read through these instructions carefully. Follow the steps to use Keychain Access to create a CSR and save it to your computer. When you’ve successfully generated a Certificate Signing Request click “Continue” to move on to the next step.
Choose the Certificate Signing Request you created in the previous step and click “Continue”.
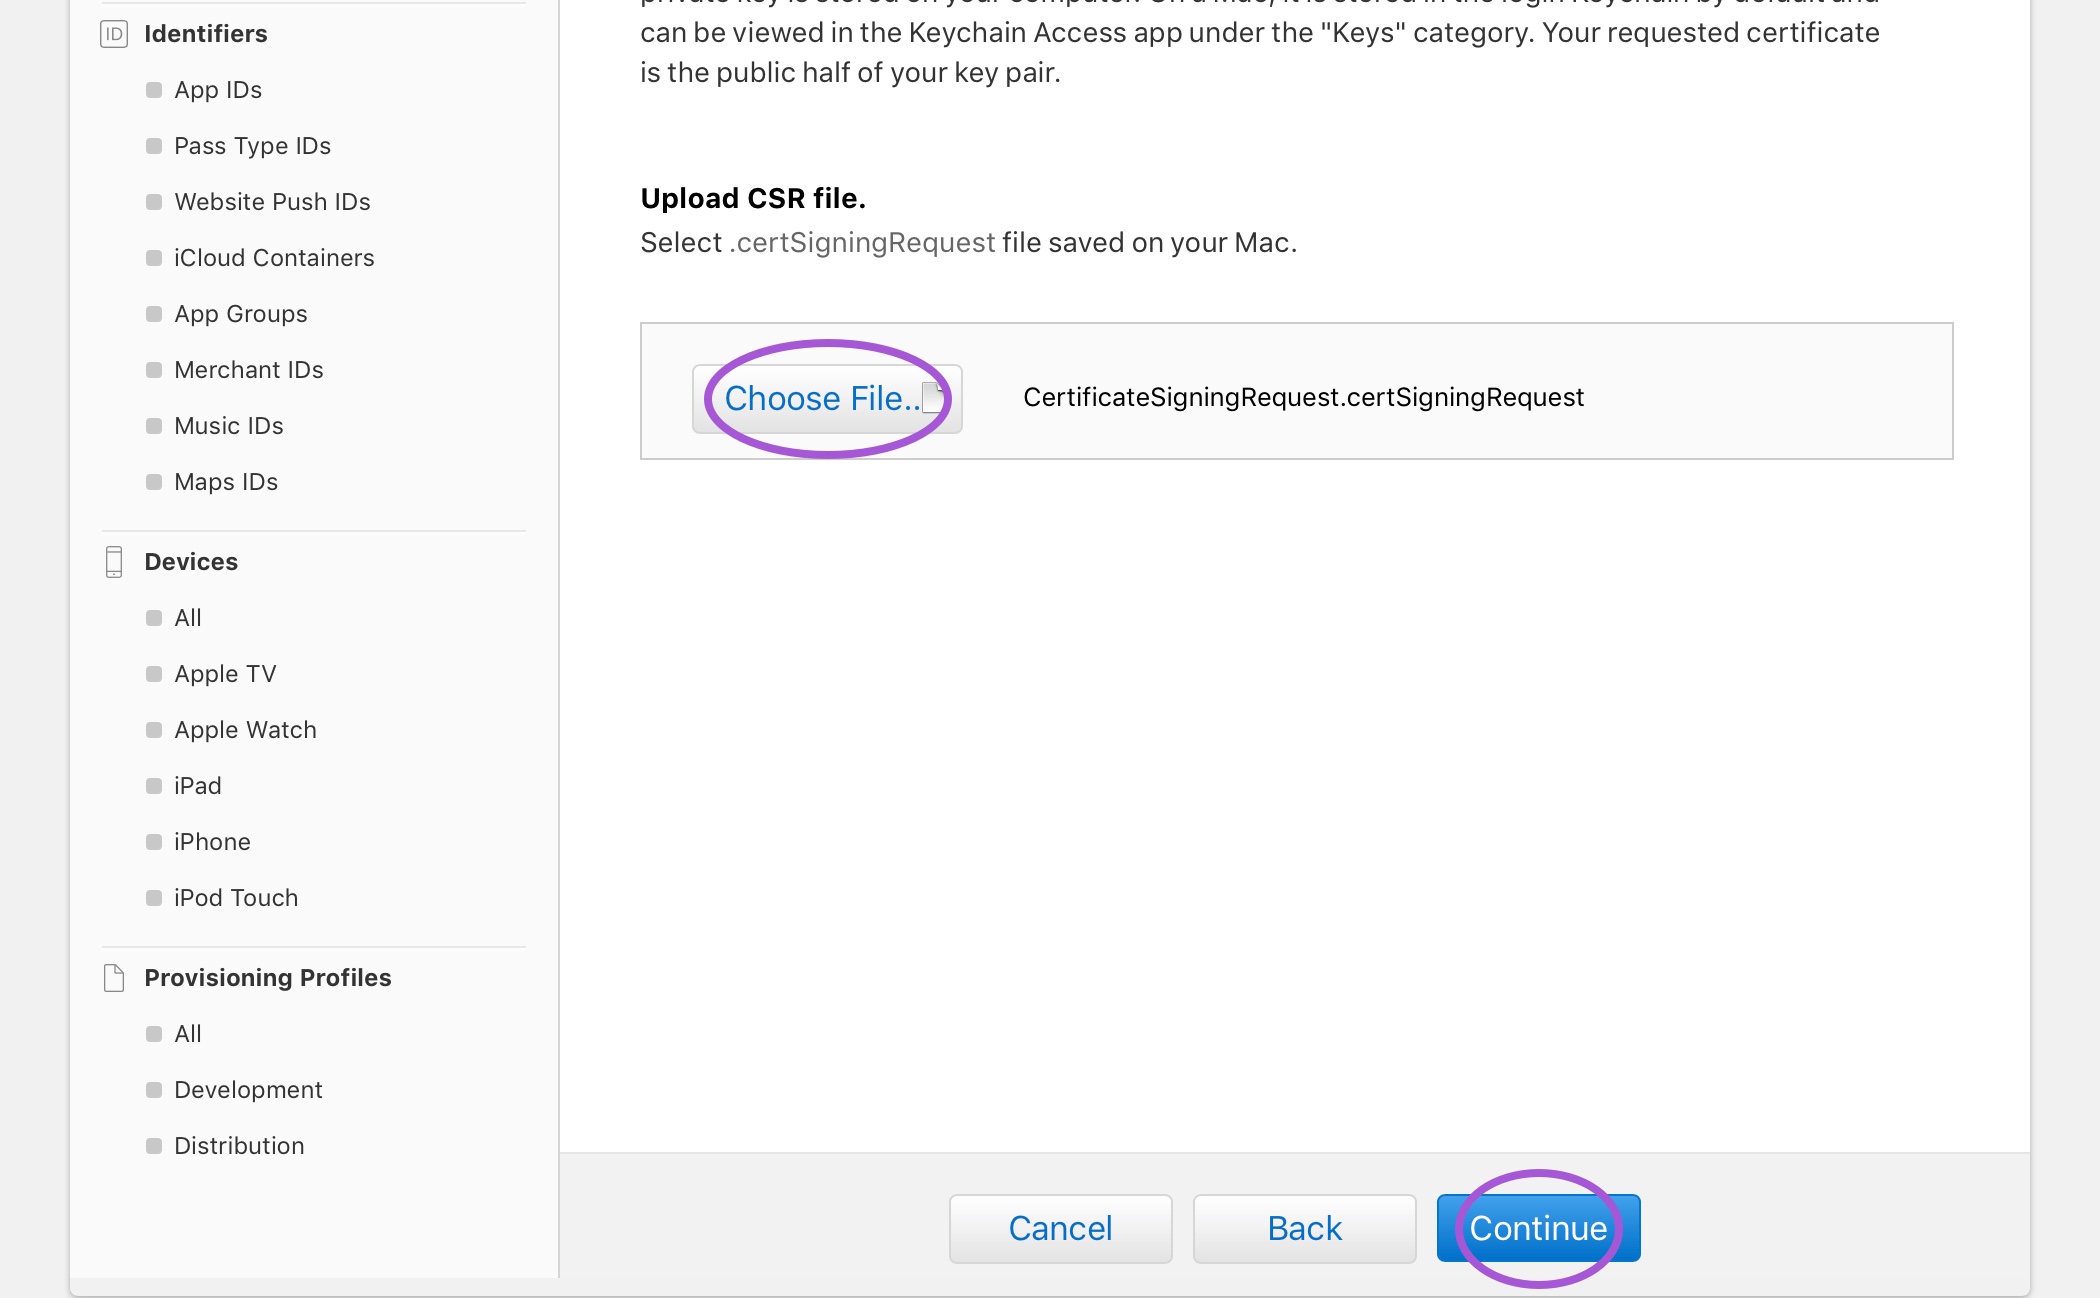
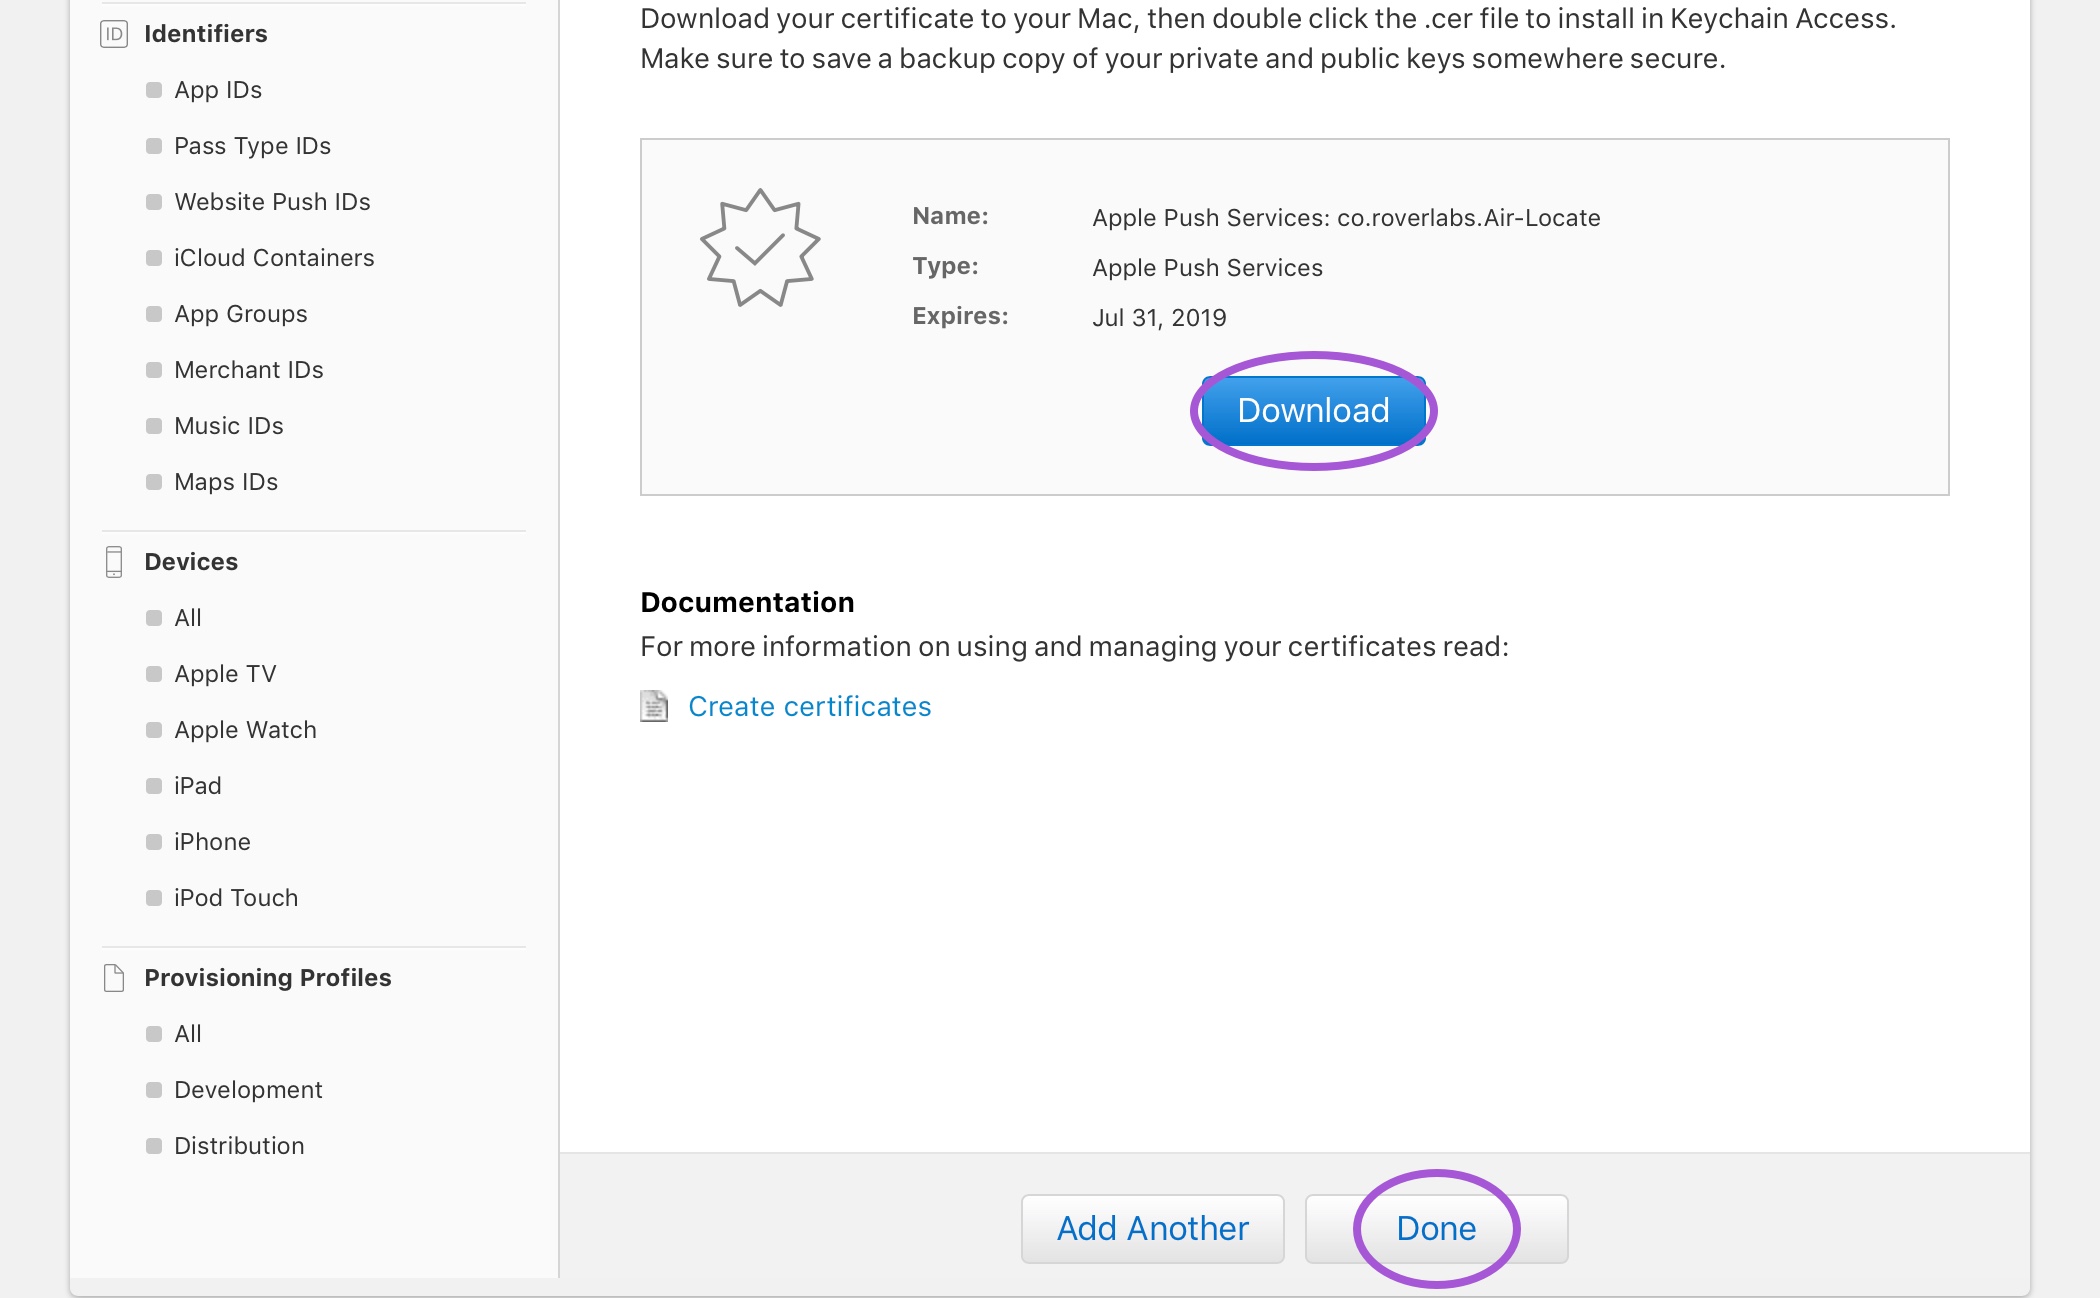
Download your certificate to your Mac and click “Done”.
Export as p12
Find the certificate you downloaded in the previous step on your Mac. Double-click the .cer file to install the certificate in Keychain Access.
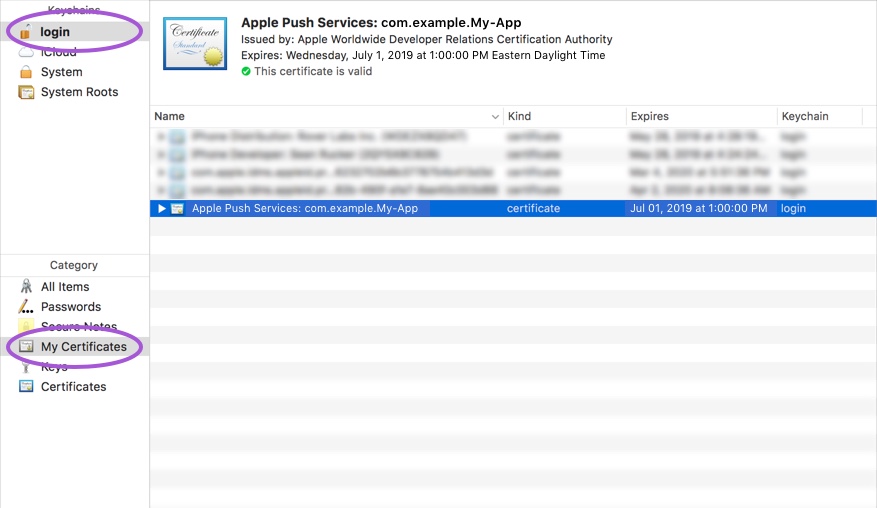
With Keychain Access open make sure you have “login” and “My Certificates” selected in the left sidebar. You should see a certificate named “Apple Push Services” with your App ID appended.
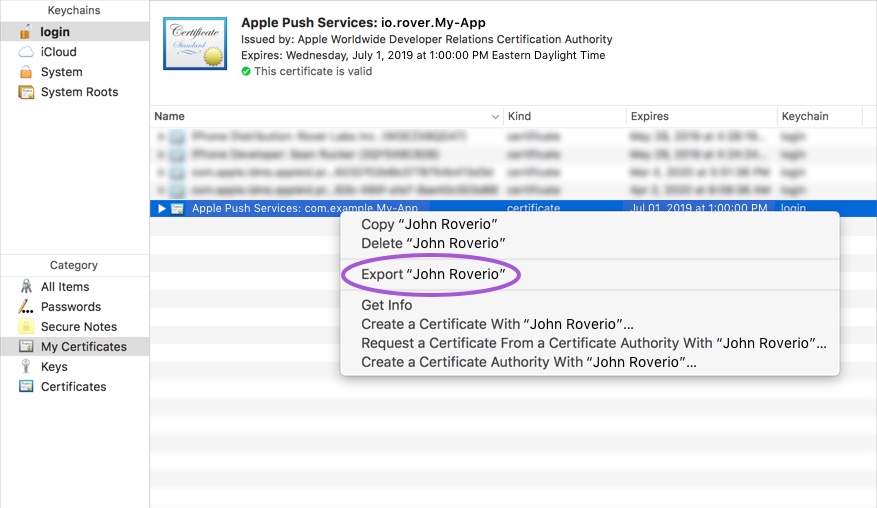
With the certificate selected (do not expand the arrow) right-click and select Export “…”.
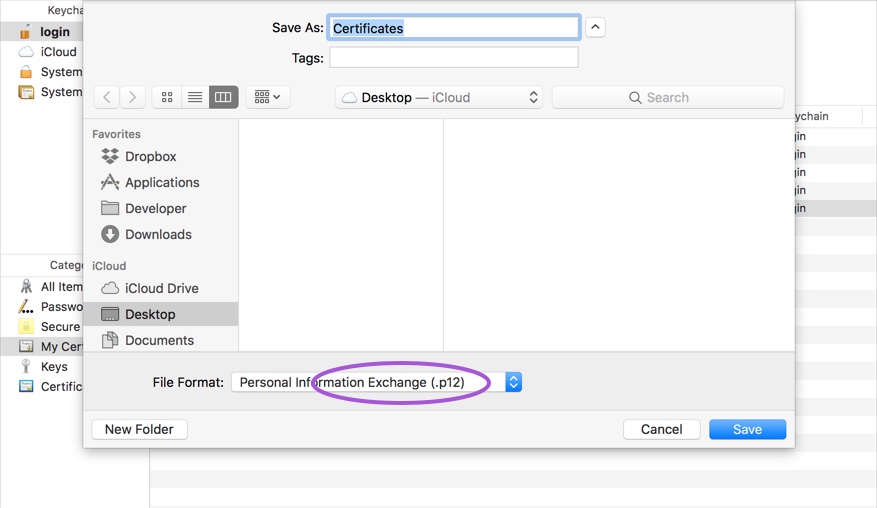
Select a place on your Mac where you want to store your exported certificate. Ensure the “Personal Information Exchange (.p12)” format is selected, then click “Save”.
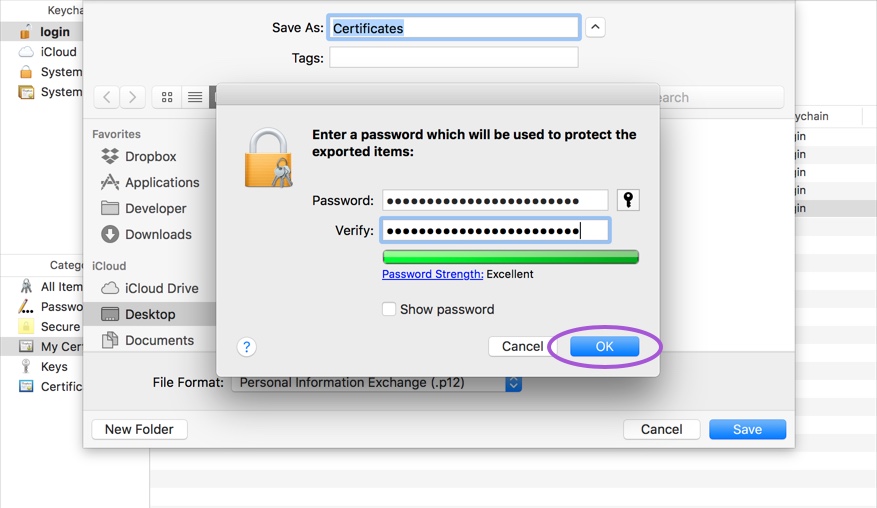
Keychain Access will prompt you for a password. Enter any strong password you like but make sure you remember it. You will need the enter this password again when you upload the certificate to Rover’s servers. It’s a good idea to store this password in a password manager or some other secure means as you may need to enter it again in the future.
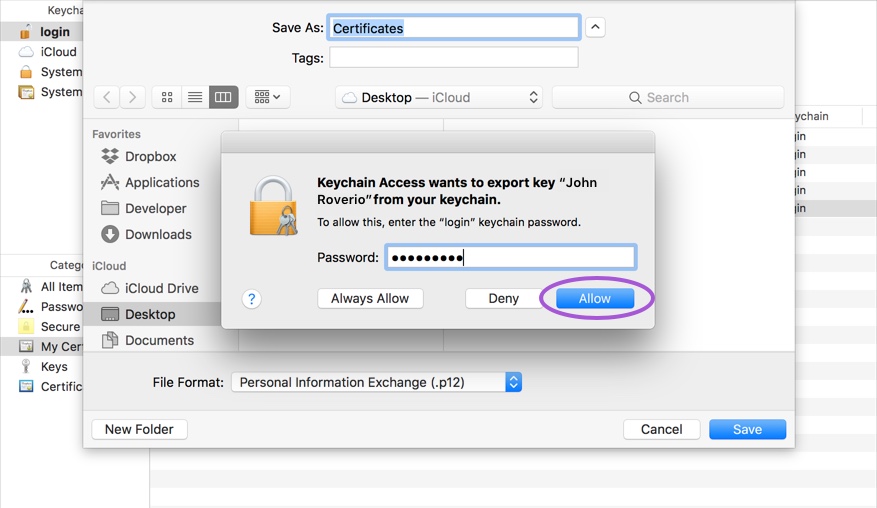
Keychain Access may ask for your password before exporting the certificate. The password it’s asking for is your local Mac OS account password. This is expected behavior and is safe to allow.
Upload to Rover
The final step in APNS setup is to upload the exported .p12 file to Rover’s servers.
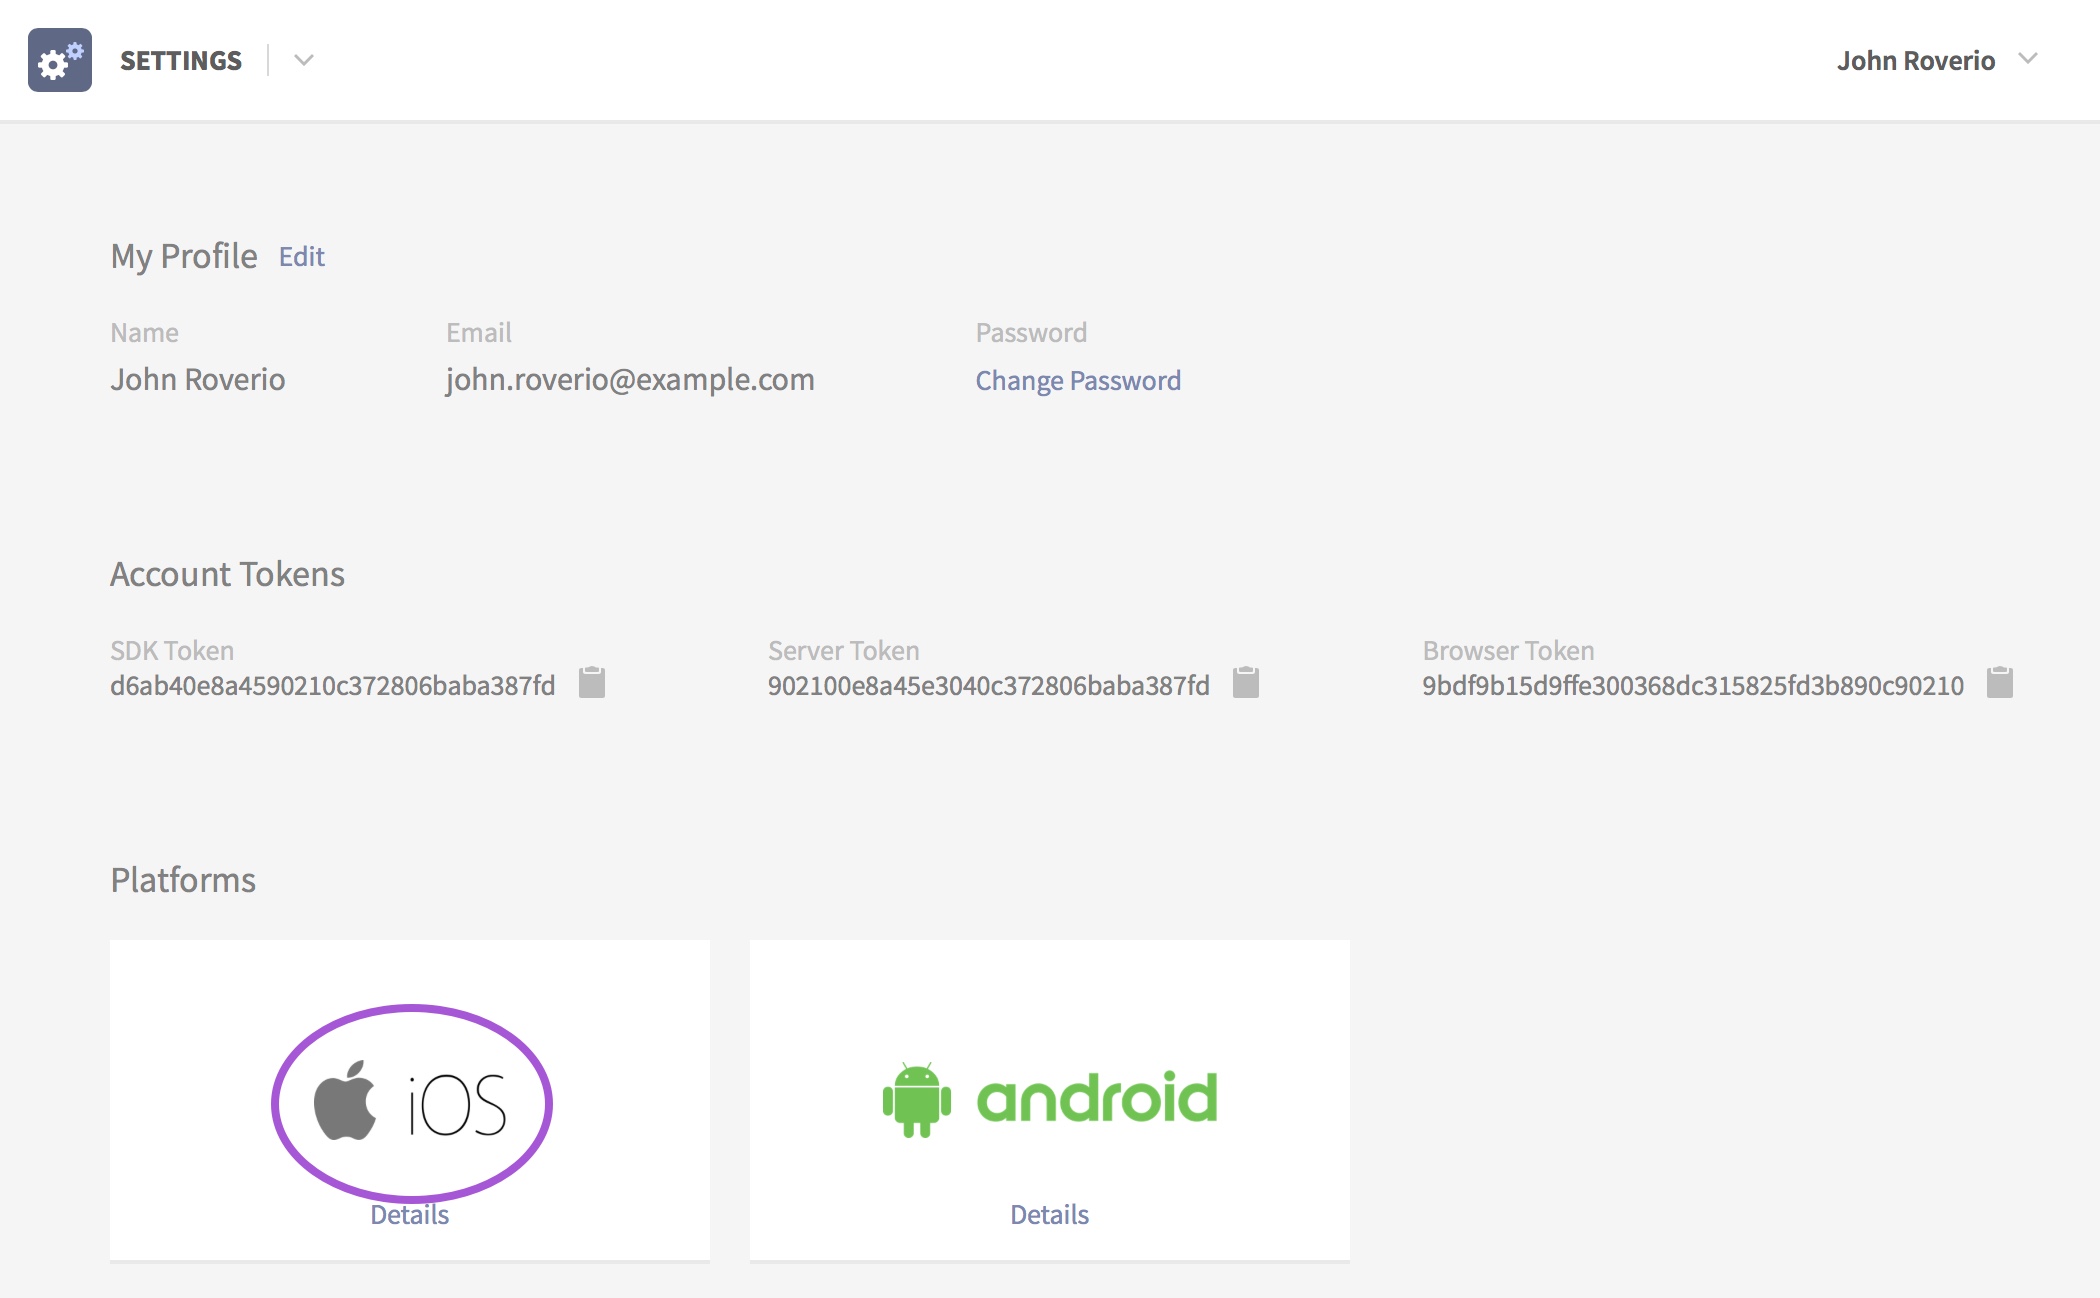
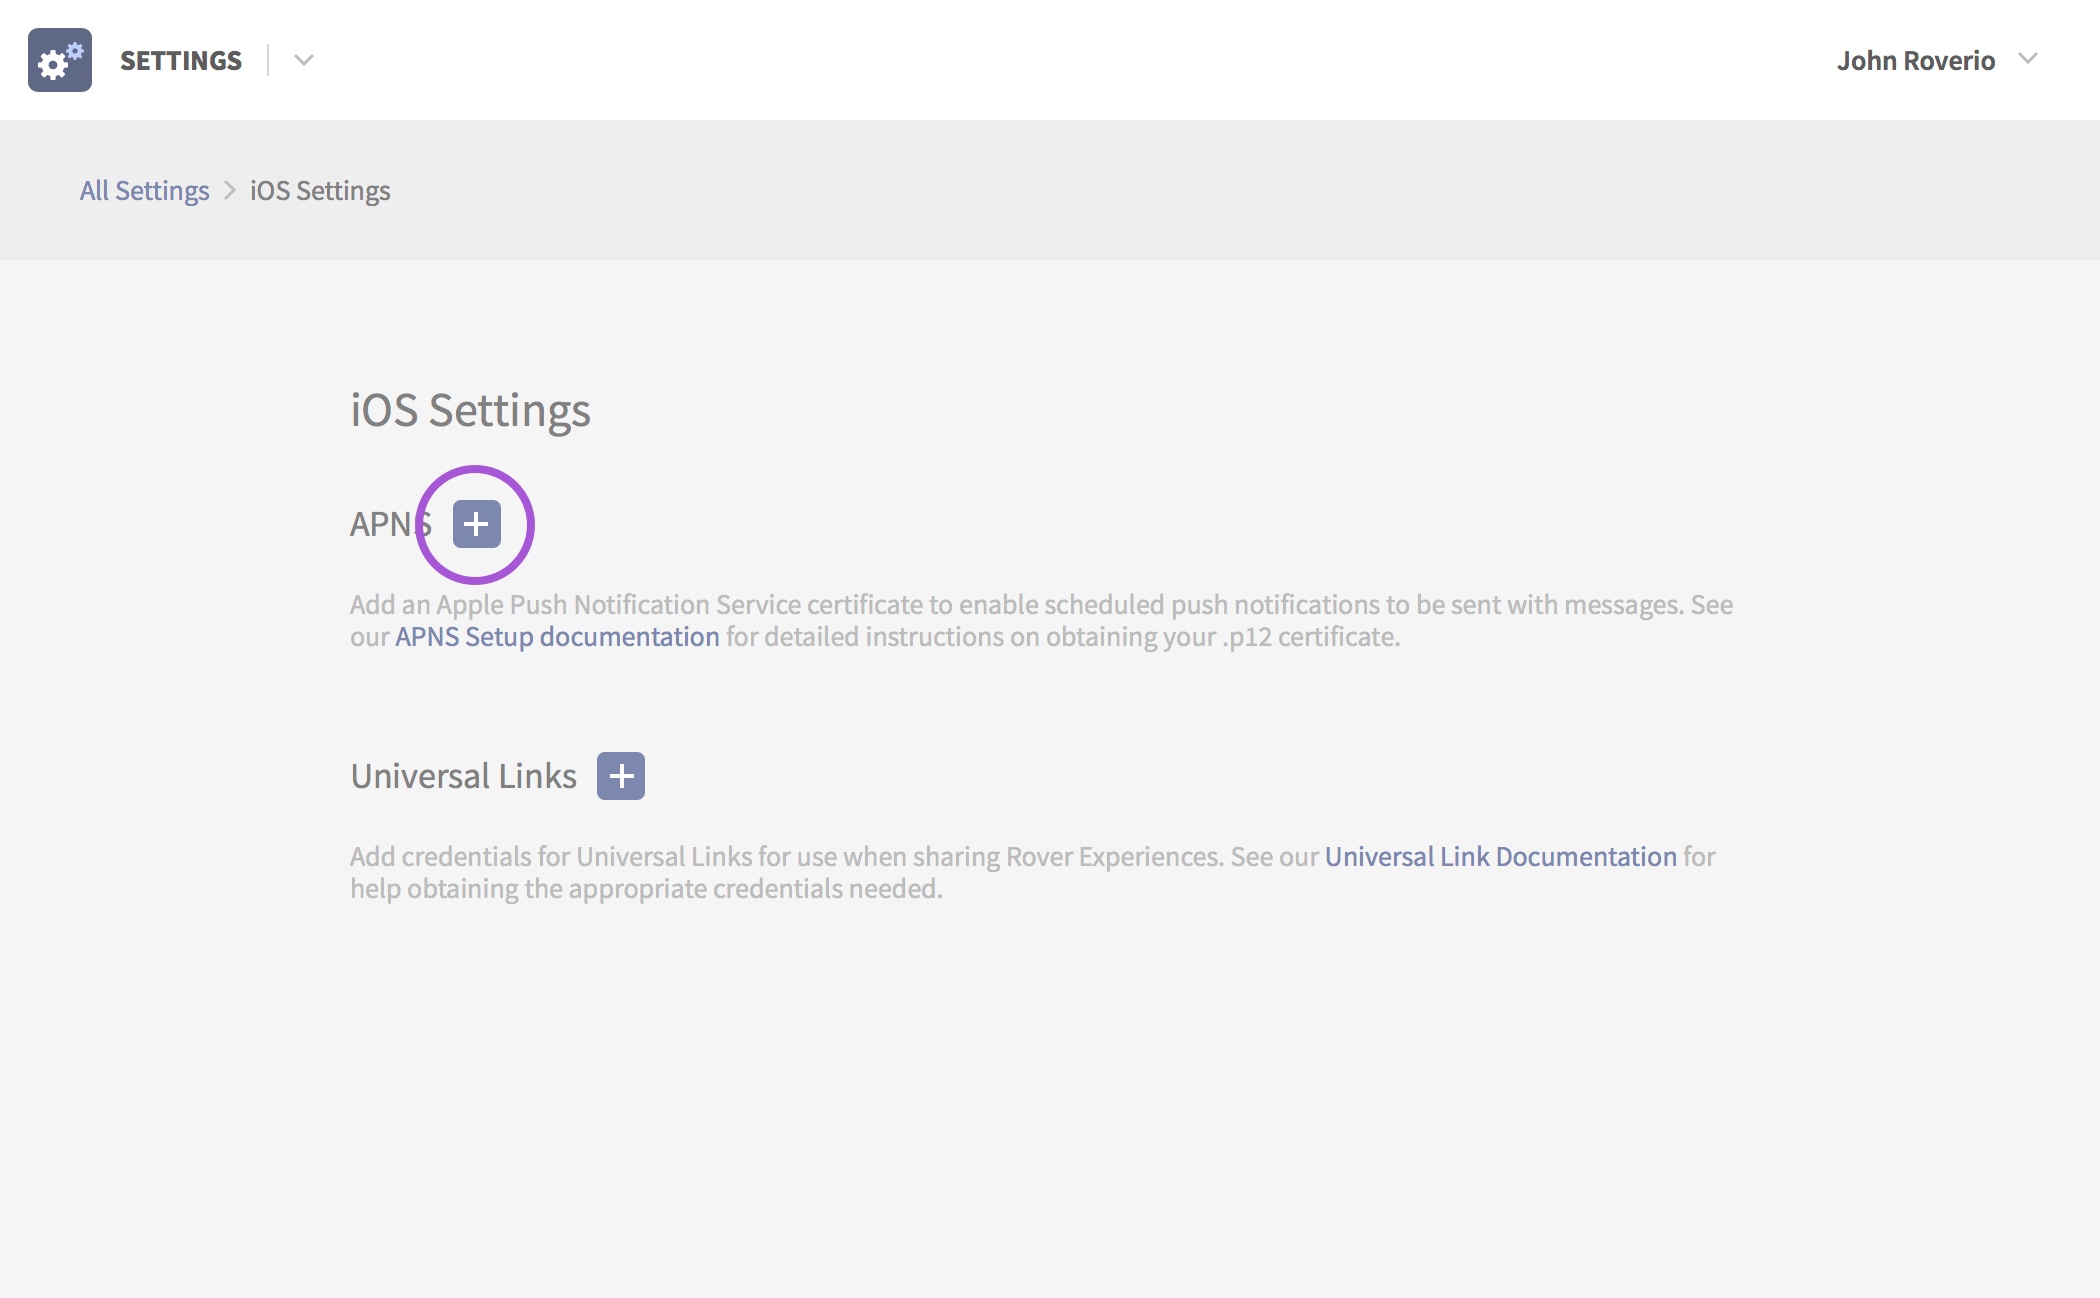
Sign-in to the Rover dashboard with your Rover account credentials and open the Settings app. From the overview page, click on the “iOS” tile.
From the iOS Settings page click the plus (+) icon next to APNS.
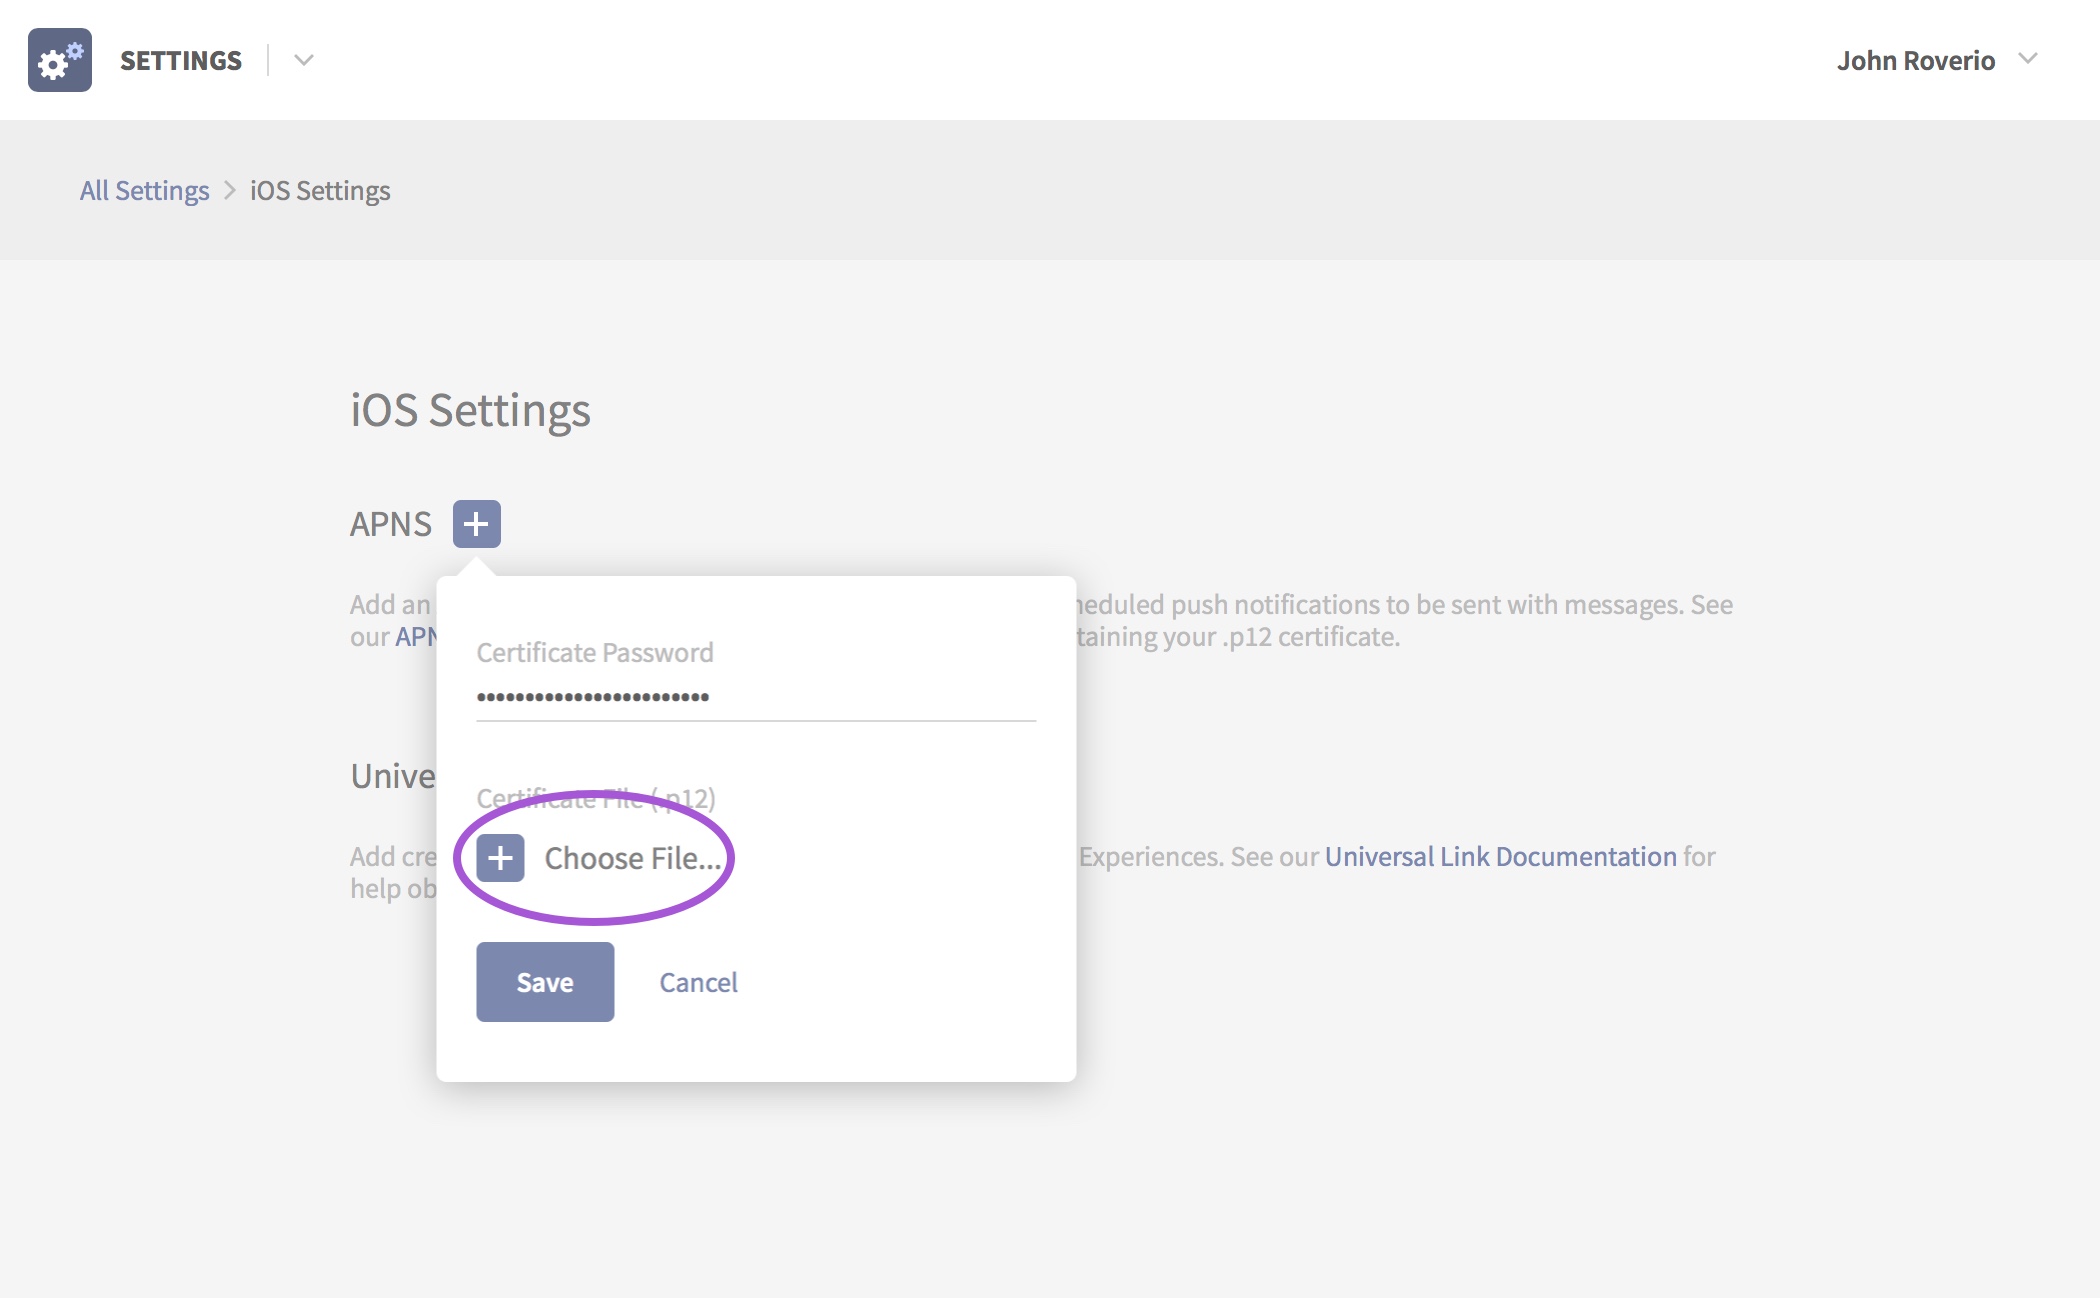
In the “Certificate Password” field of the popover, enter the same password you entered when you exported the .p12 file from Keychain Access. Then click the “Choose File…” button.
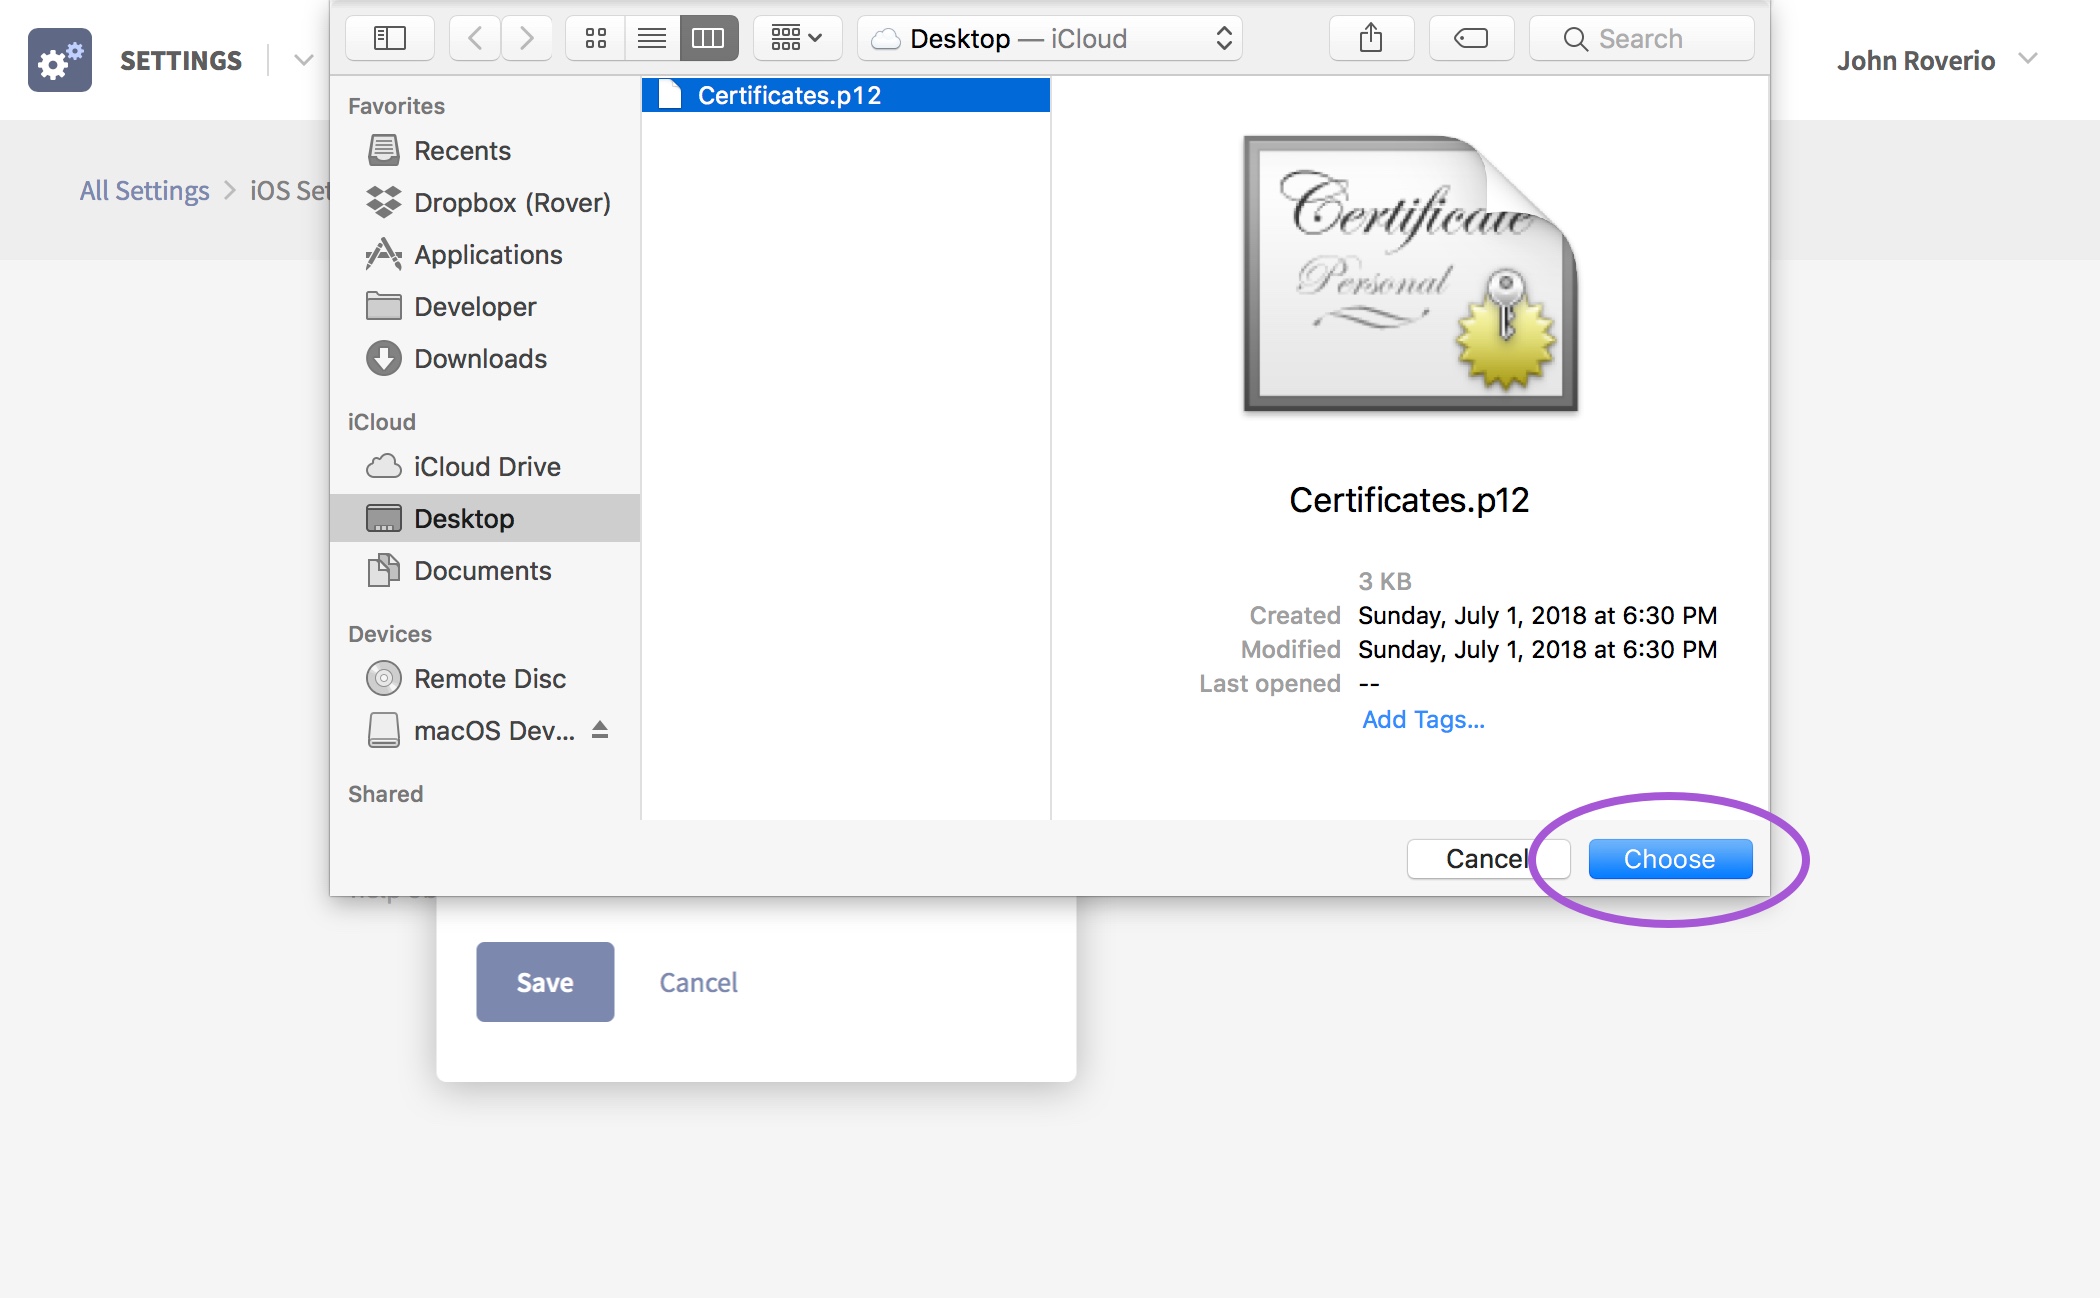
Select the .p12 file that you exported from Keychain Access and click “Choose”.
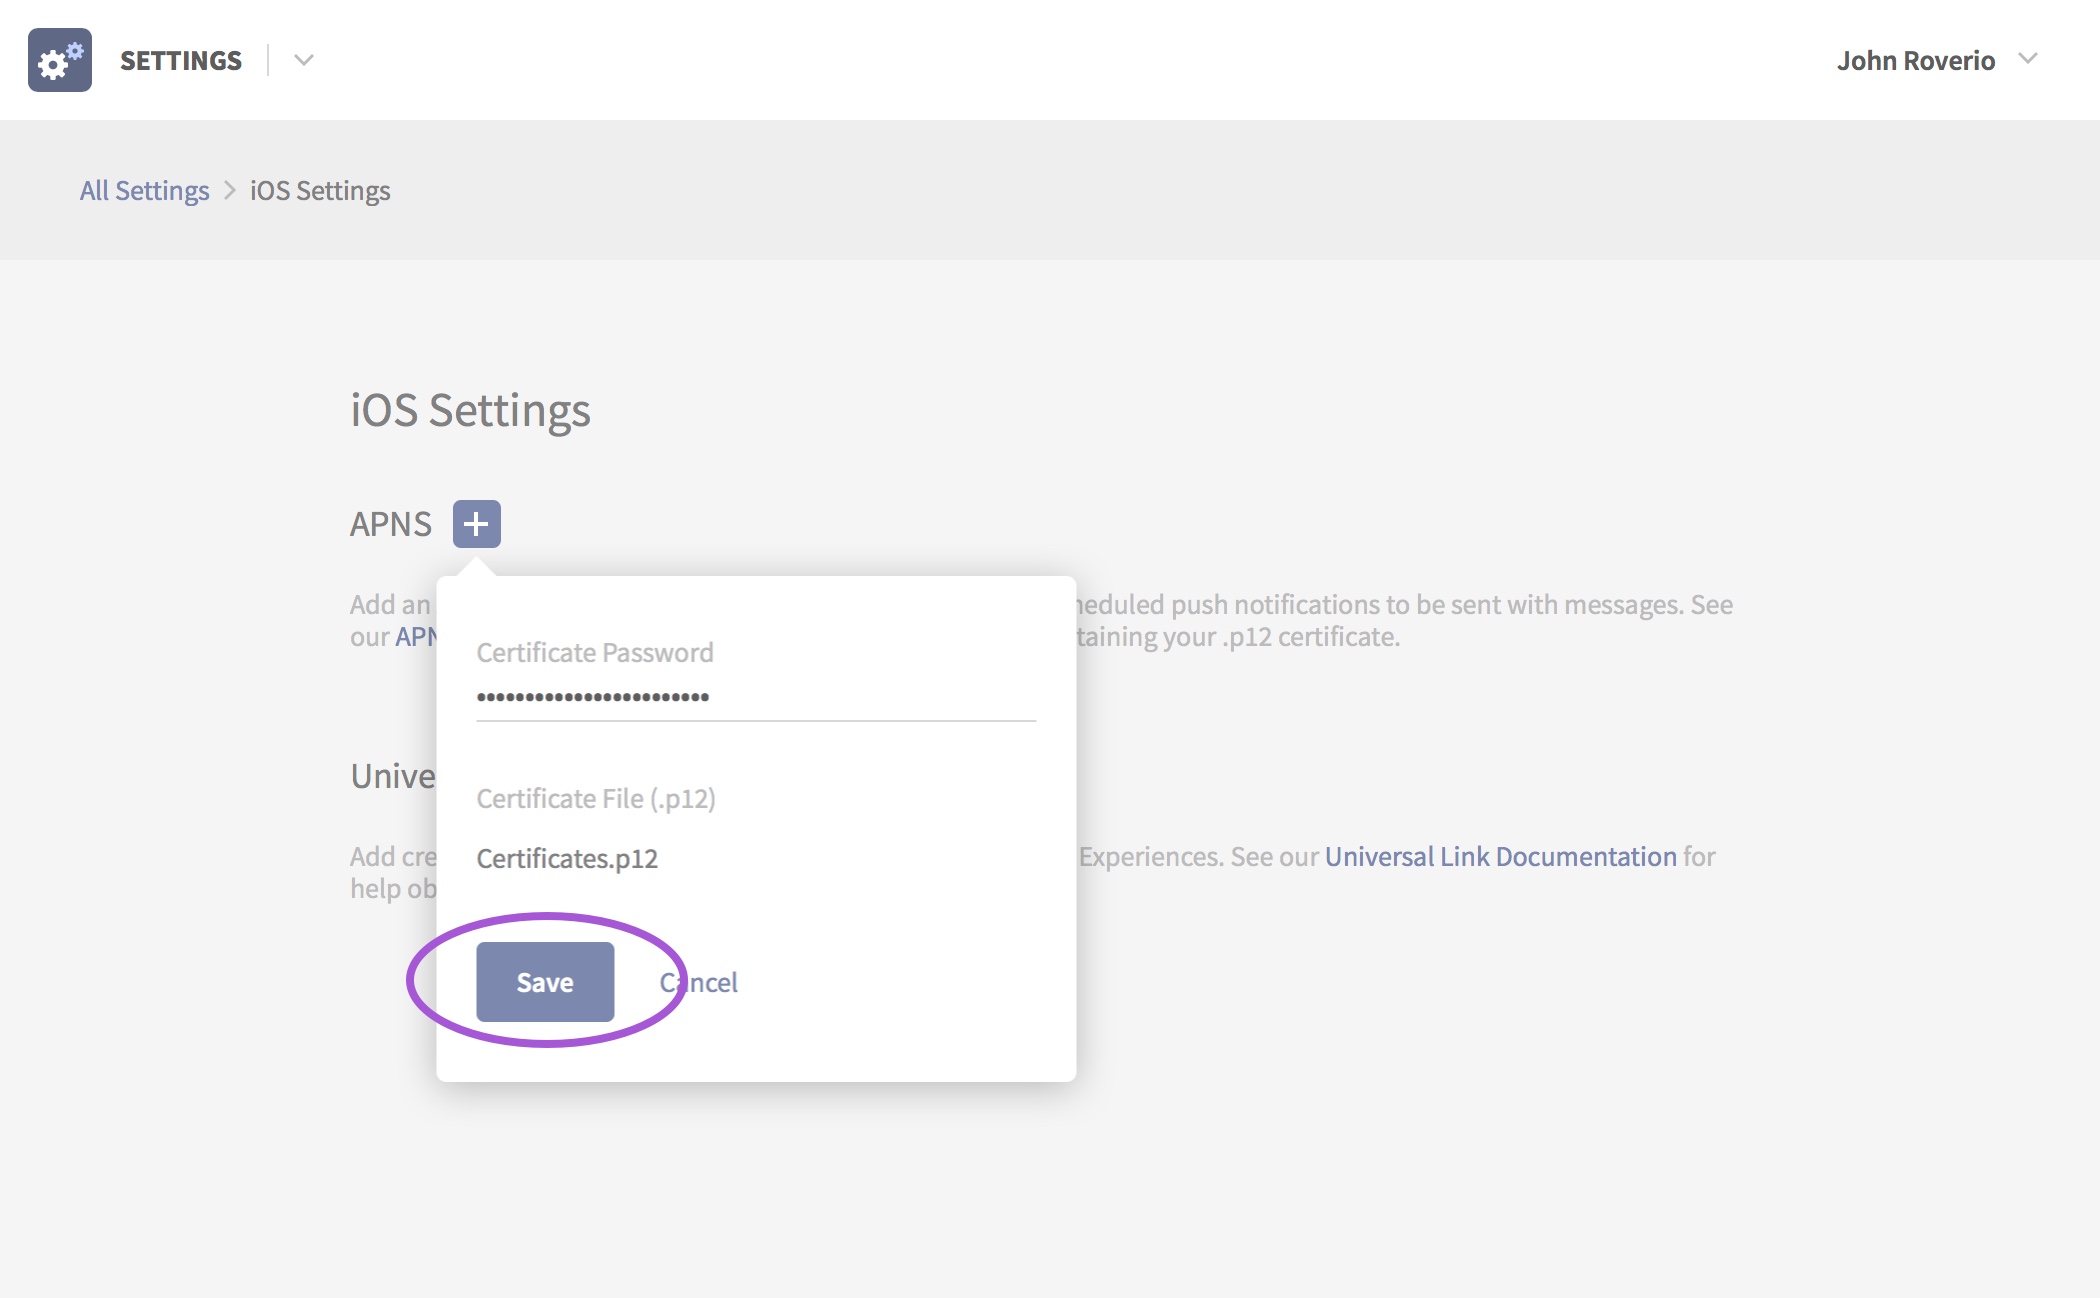
With your .p12 certificate now selected, click Save to upload the certificate to Rover.
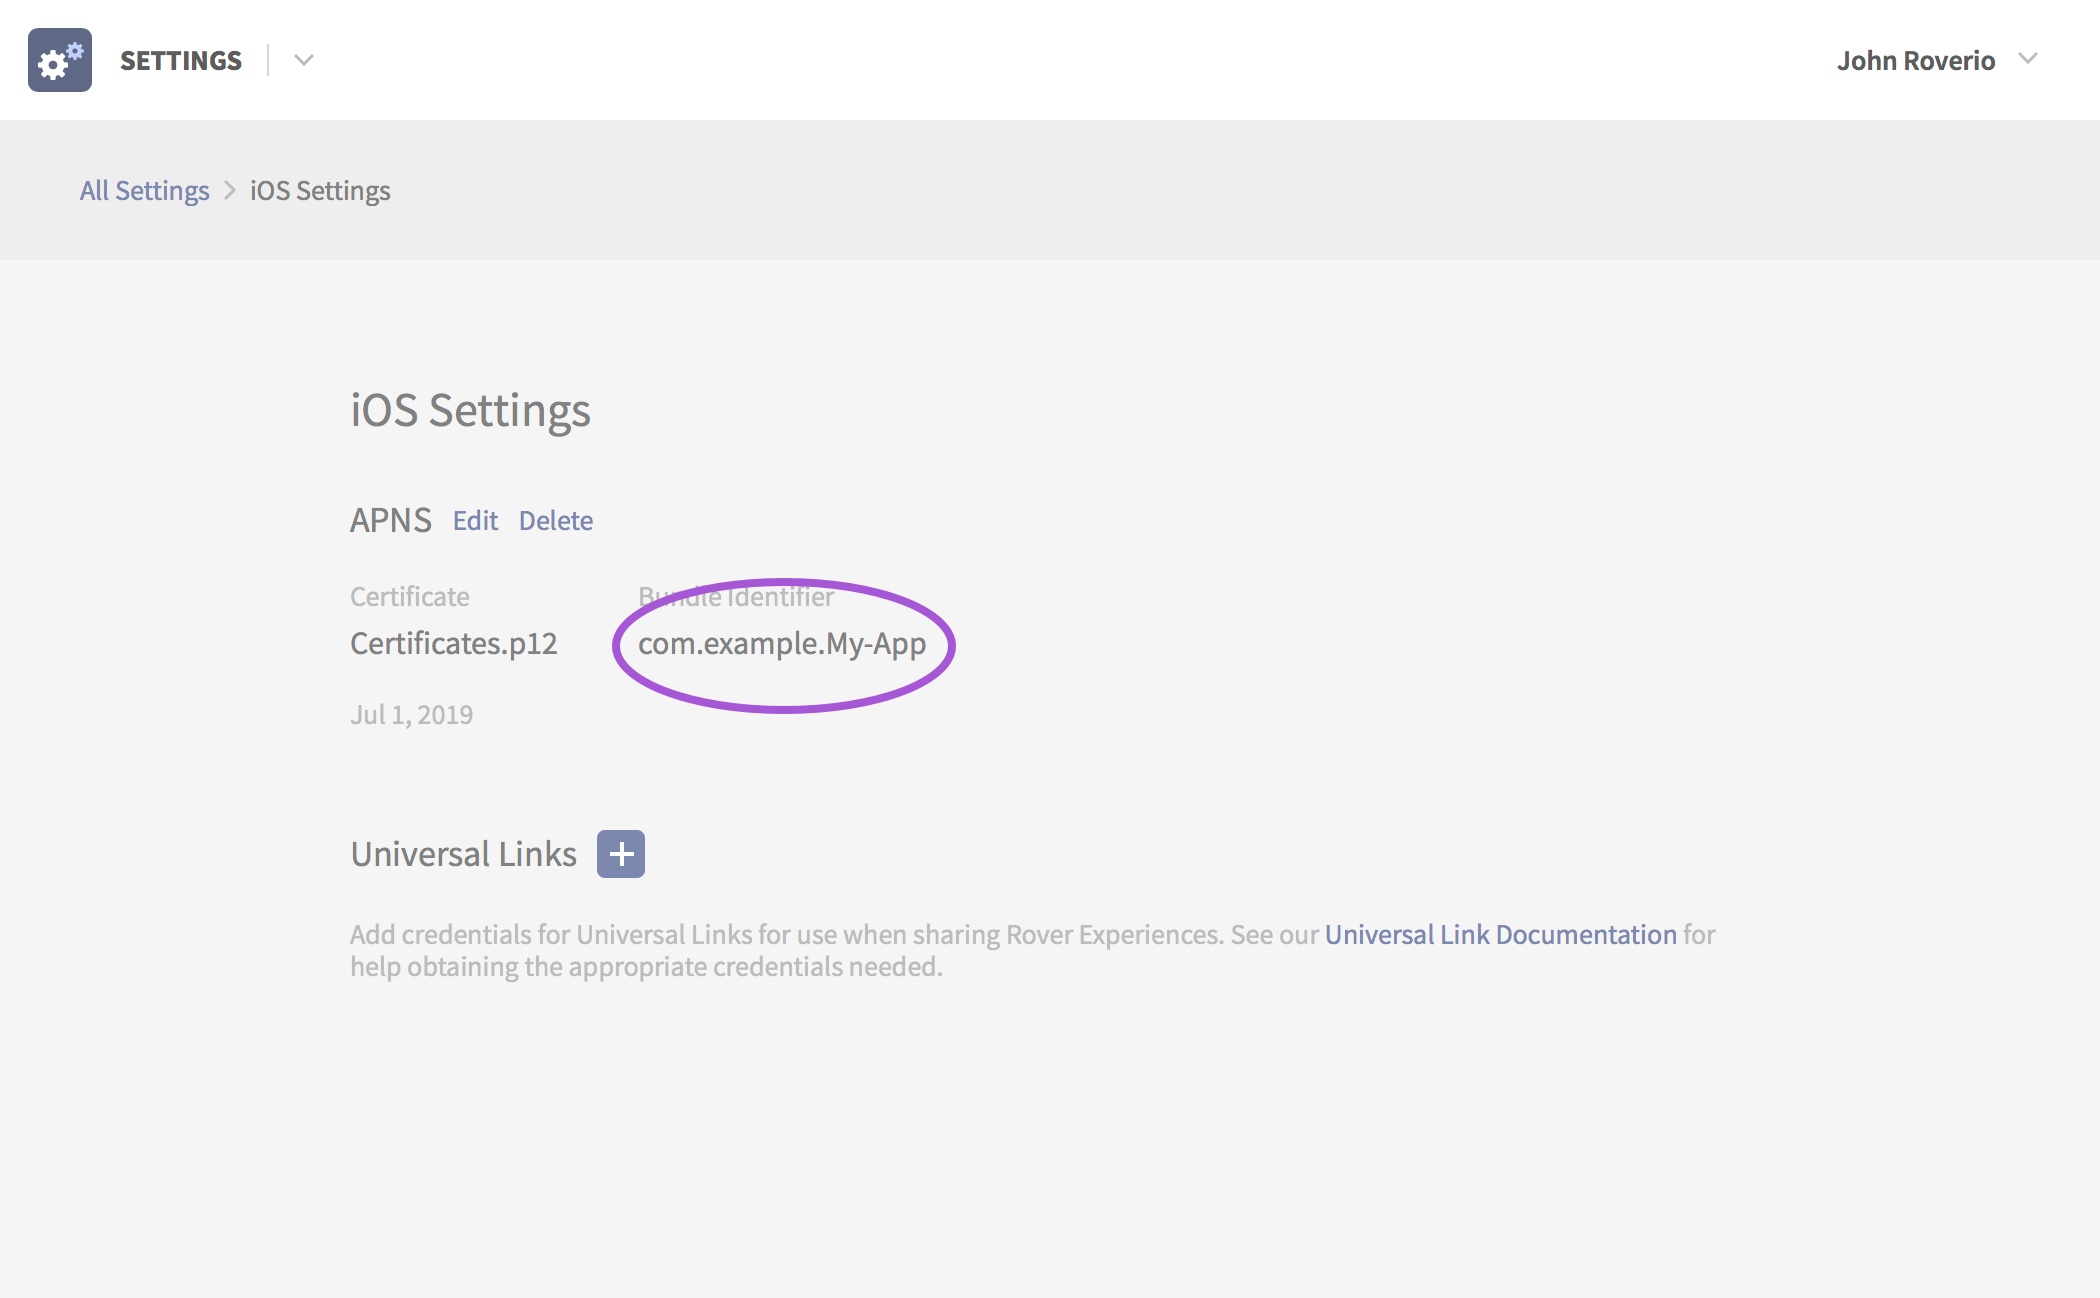
If everything went well you should see your app’s bundle identifier displayed in the APNS section of the iOS Settings page.
If something goes wrong, try uploading your certificate again and double-checking your password. If it’s still failing, try going through the steps again, ensuring your experience matches the screenshots at each step. If you’re still stuck, reach out to your CSM for assistance.