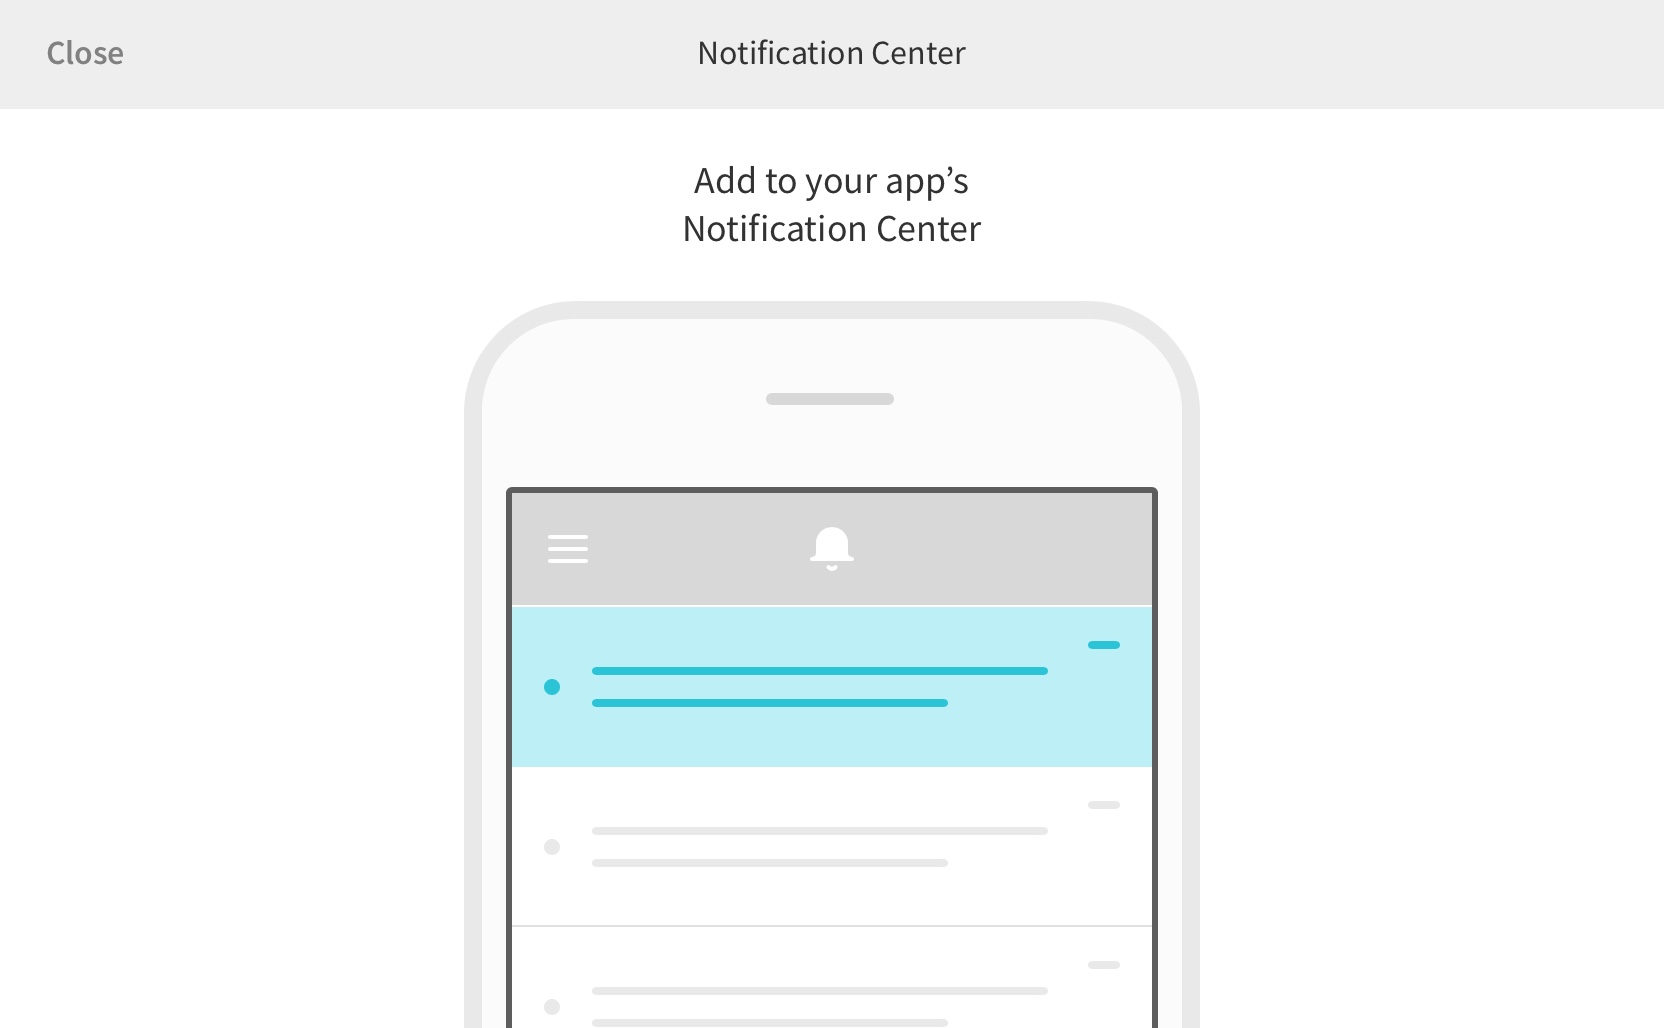
Notification Center
The Notifications Center is an Android View bundled with Rover Notifications module that can display to the user a log of their received notifications, if so selected in the Campaign that sent those notifications.
Presenting Modally
The Notifications module contains a full Activity, NotificationCenterActivity,
with everything needed to fetch and display the user’s notifications in a
familiar list view. Additionally it supports functionality for marking
notifications as read and allowing the user to delete notifications when they
are no longer needed.
You can launch it like this:
startActivity(
    NotificationCenterActivity.makeIntent(this)
)
However, in its bare form it is likely not appropriate for your product. If you
add an entry for NotificationCenterActivity to your manifest, you can change
the theme.
Presenting within an Existing Activity/Layout
The Notification Center is also available as an Android view,
NotificationCenterListView, that can be embedded anywhere within your
application.
You may embed it in your Fragment, Activity, or even another custom view with either layout XML or directly in code.
Embed it in an XML view with:
<io.rover.notifications.ui.NotificationCenterListView
    android:id="@+id/notificationCenter"
    android:layout_width="match_parent"
    android:layout_height="match_parent"/>
Then, from the code side of your Activity or Fragment, in either onCreate() or
onCreateView() respectively, you will need to provide a reference to the
Activity to the view:
(findViewById(R.id.demoNotificationCentre) as NotificationCenterListView).activity = this
Then, in order to open your Notification Center whenever a Rover Campaign is configured to open the app to the notification center, tell the Rover Notifications module where to find your embedded Notification Center by providing the NotificationsAssembler with an Intent for it:
Rover.init(
    /* ... */
    NotificationsAssembler(
        /* ... */
        notificationCenterIntent = /* AN_INTENT_FOR_OPENING_YOUR_APP_TO_YOUR_NOTIFICATION_SCREEN */
    )
)
Delivering Notifications
When authoring a campaign in the Rover Campaigns app, you have the option to enable “Notification Center” as one of the ways to deliver the campaign.
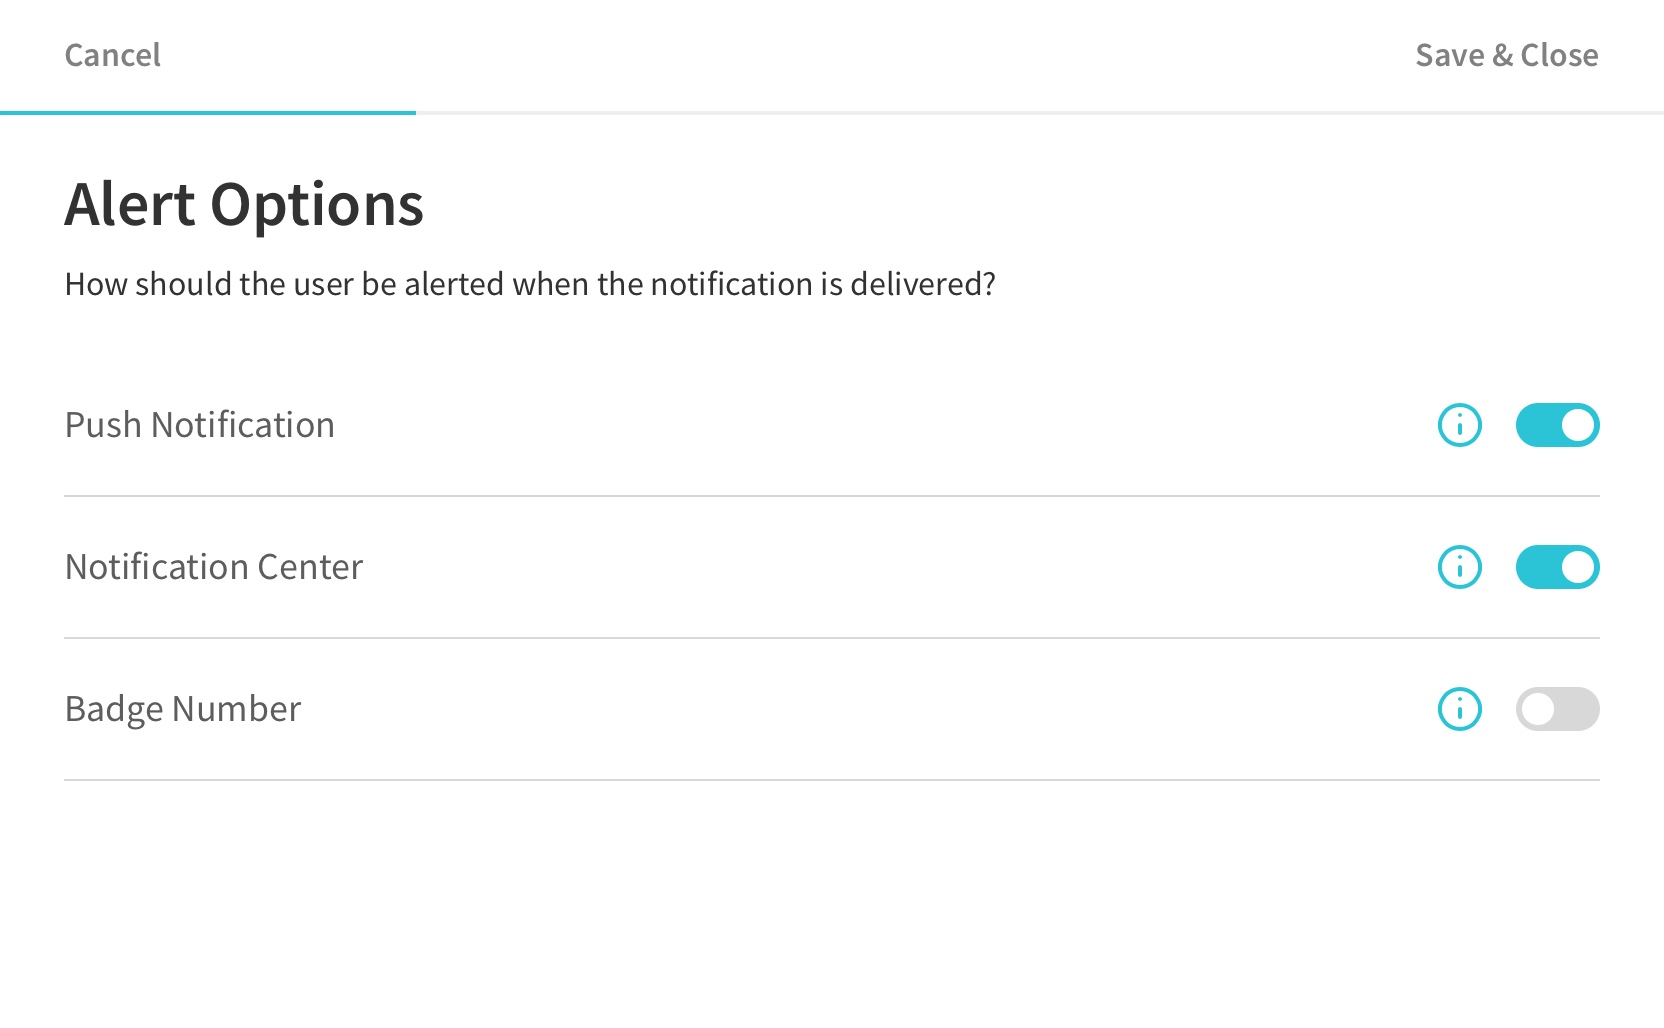
When Notification Center is enabled, the notification delivered by the campaign will be accessible in your app’s Notification Center in addition to the system-displayed push notification.
Customizing Display and Layout
The Notification Center can (and likely should) be customized to suit your product design. The mechanism for this is to override the factories for views used for the Notification Center within the Rover SDK dependendency injection container.
Please see the Android Modules Overview for further direction on overriding factories.
Customize Notification Row Views
You can either create a whole new custom view, or override the bundled
NotificationItemView. If you just want to use your own layout, XML or
otherwise, then the latter may be a good option.
To use your own XML layout create a subclass of NotificationItemView and
override the buildLayout(), bind(), and bindThumbnail() methods.
import io.rover.notifications.ui.NotificationItemView
import android.view.LayoutInflater

class MyCustomNotificationItemView: NotificationItemView {
    constructor(context: Context?) : super(context)
    constructor(context: Context?, attrs: AttributeSet?) : super(context, attrs)
    constructor(context: Context?, attrs: AttributeSet?, defStyleAttr: Int) : super(context, attrs, defStyleAttr)

    override fun buildLayout() {
        // inflate and attach your XML view layout, or build your layout manually with code.
        LayoutInflater.from(context).inflate(R.layout.my_notification_center_item, this)
    }

    override fun bind(viewModel: NotificationItemViewModelInterface) {
        findViewById<TextView>(R.id.my_body_text_view).text = viewModel.notificationForDisplay.body
        /* ... */
    }

    override fun bindThumbnail(bitmap: Bitmap) {
        val imageView = findViewById<AppCompatImageView>(R.id.my_image_view)
        imageView.scaleType = ImageView.ScaleType.CENTER_CROP // Fill.
        imageView.setImageBitmap(bitmap)
    }
}
Then override the factory for notification rows to return instances of your subclass instead of the built-in one:
Rover.init(
    /* ... */
    NotificationsAssembler(/* ... */),
    // we create a little anonymous assembler here to override the previous ones.
    // Ensure that you add it in the list after NotificationsAssembler!
    object : Assembler {
        override fun assemble(container: Container) {
            container.register(
                Scope.Transient,
                BindableView::class.java,
                "notificationItemView"
            ) { resolver, context: Context ->
                MyCustomNotificationItemView(context)
            }
        }
    }
)
Customize Empty State Screen
Override the factory for notification center list empty view to return whatever view you would like to be displayed whenever the list is empty:
Rover.init(
    /* ... */
    NotificationsAssembler(/* ... */),
    // we create a little anonymous assembler here to override the previous ones.
    // Ensure that you add it in the list after NotificationsAssembler!
    object : Assembler {
        override fun assemble(container: Container) {
            container.register(
                Scope.Transient,
                BindableView::class.java,
                "notificationListEmptyArea"
            ) { resolver, context: Context ->
                // Just using a text view, as an example:
                TextView(context).apply {
                    text = "No notifications yet!"
                }.apply {
                    // center it in the display.
                    gravity = Gravity.CENTER_VERTICAL or Gravity.CENTER_HORIZONTAL
                }
            }
        }
    }
)
Customize Swipe to Delete
The notification center features the fairly common swipe-to-delete pattern. If the item is swiped all the way to the left, it is removed from the notification center.
Override the factory for notification center list empty view to return whatever view you would like to be displayed whenever the list is empty. By default this is a red shaded area with a trashcan icon.
Rover.init(
    /* ... */
    NotificationsAssembler(/* ... */),
    // we create a little anonymous assembler here to override the previous ones.
    // Ensure that you add it in the list after NotificationsAssembler!
    object : Assembler {
        override fun assemble(container: Container) {
            container.register(
                Scope.Transient,
                BindableView::class.java,
                "notificationItemSwipeToDeleteBackgroundView"
            ) { resolver, context: Context ->
                LayoutInflater.from(context).inflate(
                    R.layout.my_notification_center_default_item_delete_swipe_reveal,
                )
            }
        }
    }
)
Required Modules
- Core
- Notifications